Developer Support
Prior to reaching out to our support team, verify the following:
- You have successfully completed the following essential courses:
- You understand the Fynd Development Kit and Fynd APIs if you are developing the extension or theme using the CLI.
Fynd offers technical support to assist partners in resolving issues encountered on the Fynd Partners platform. These issues may range from configuration challenges to infrastructure-level concerns.
To handle this effectively, Fynd follows a multi-tiered support model, where each tier (level) addresses a specific category of issues based on their complexity and urgency. This structure ensures that every query is routed to the appropriate level of expertise, leading to quicker and more accurate resolutions.
Implementing such a tiered approach optimizes internal support workflows and enhances the partner experience by reducing resolution times and preventing unnecessary escalations.
This page explains the different support tiers and severity levels, including their scope, response times, and escalation paths.
Types of Support
Fynd Partners provides multiple layers of support to assist partners based on the nature and urgency of the issue. The recommended flow of seeking support is as follows:
1. Copilot Bot
Begin with our AI-powered Copilot for instant assistance with commonly asked questions, configuration steps, and troubleshooting tips.
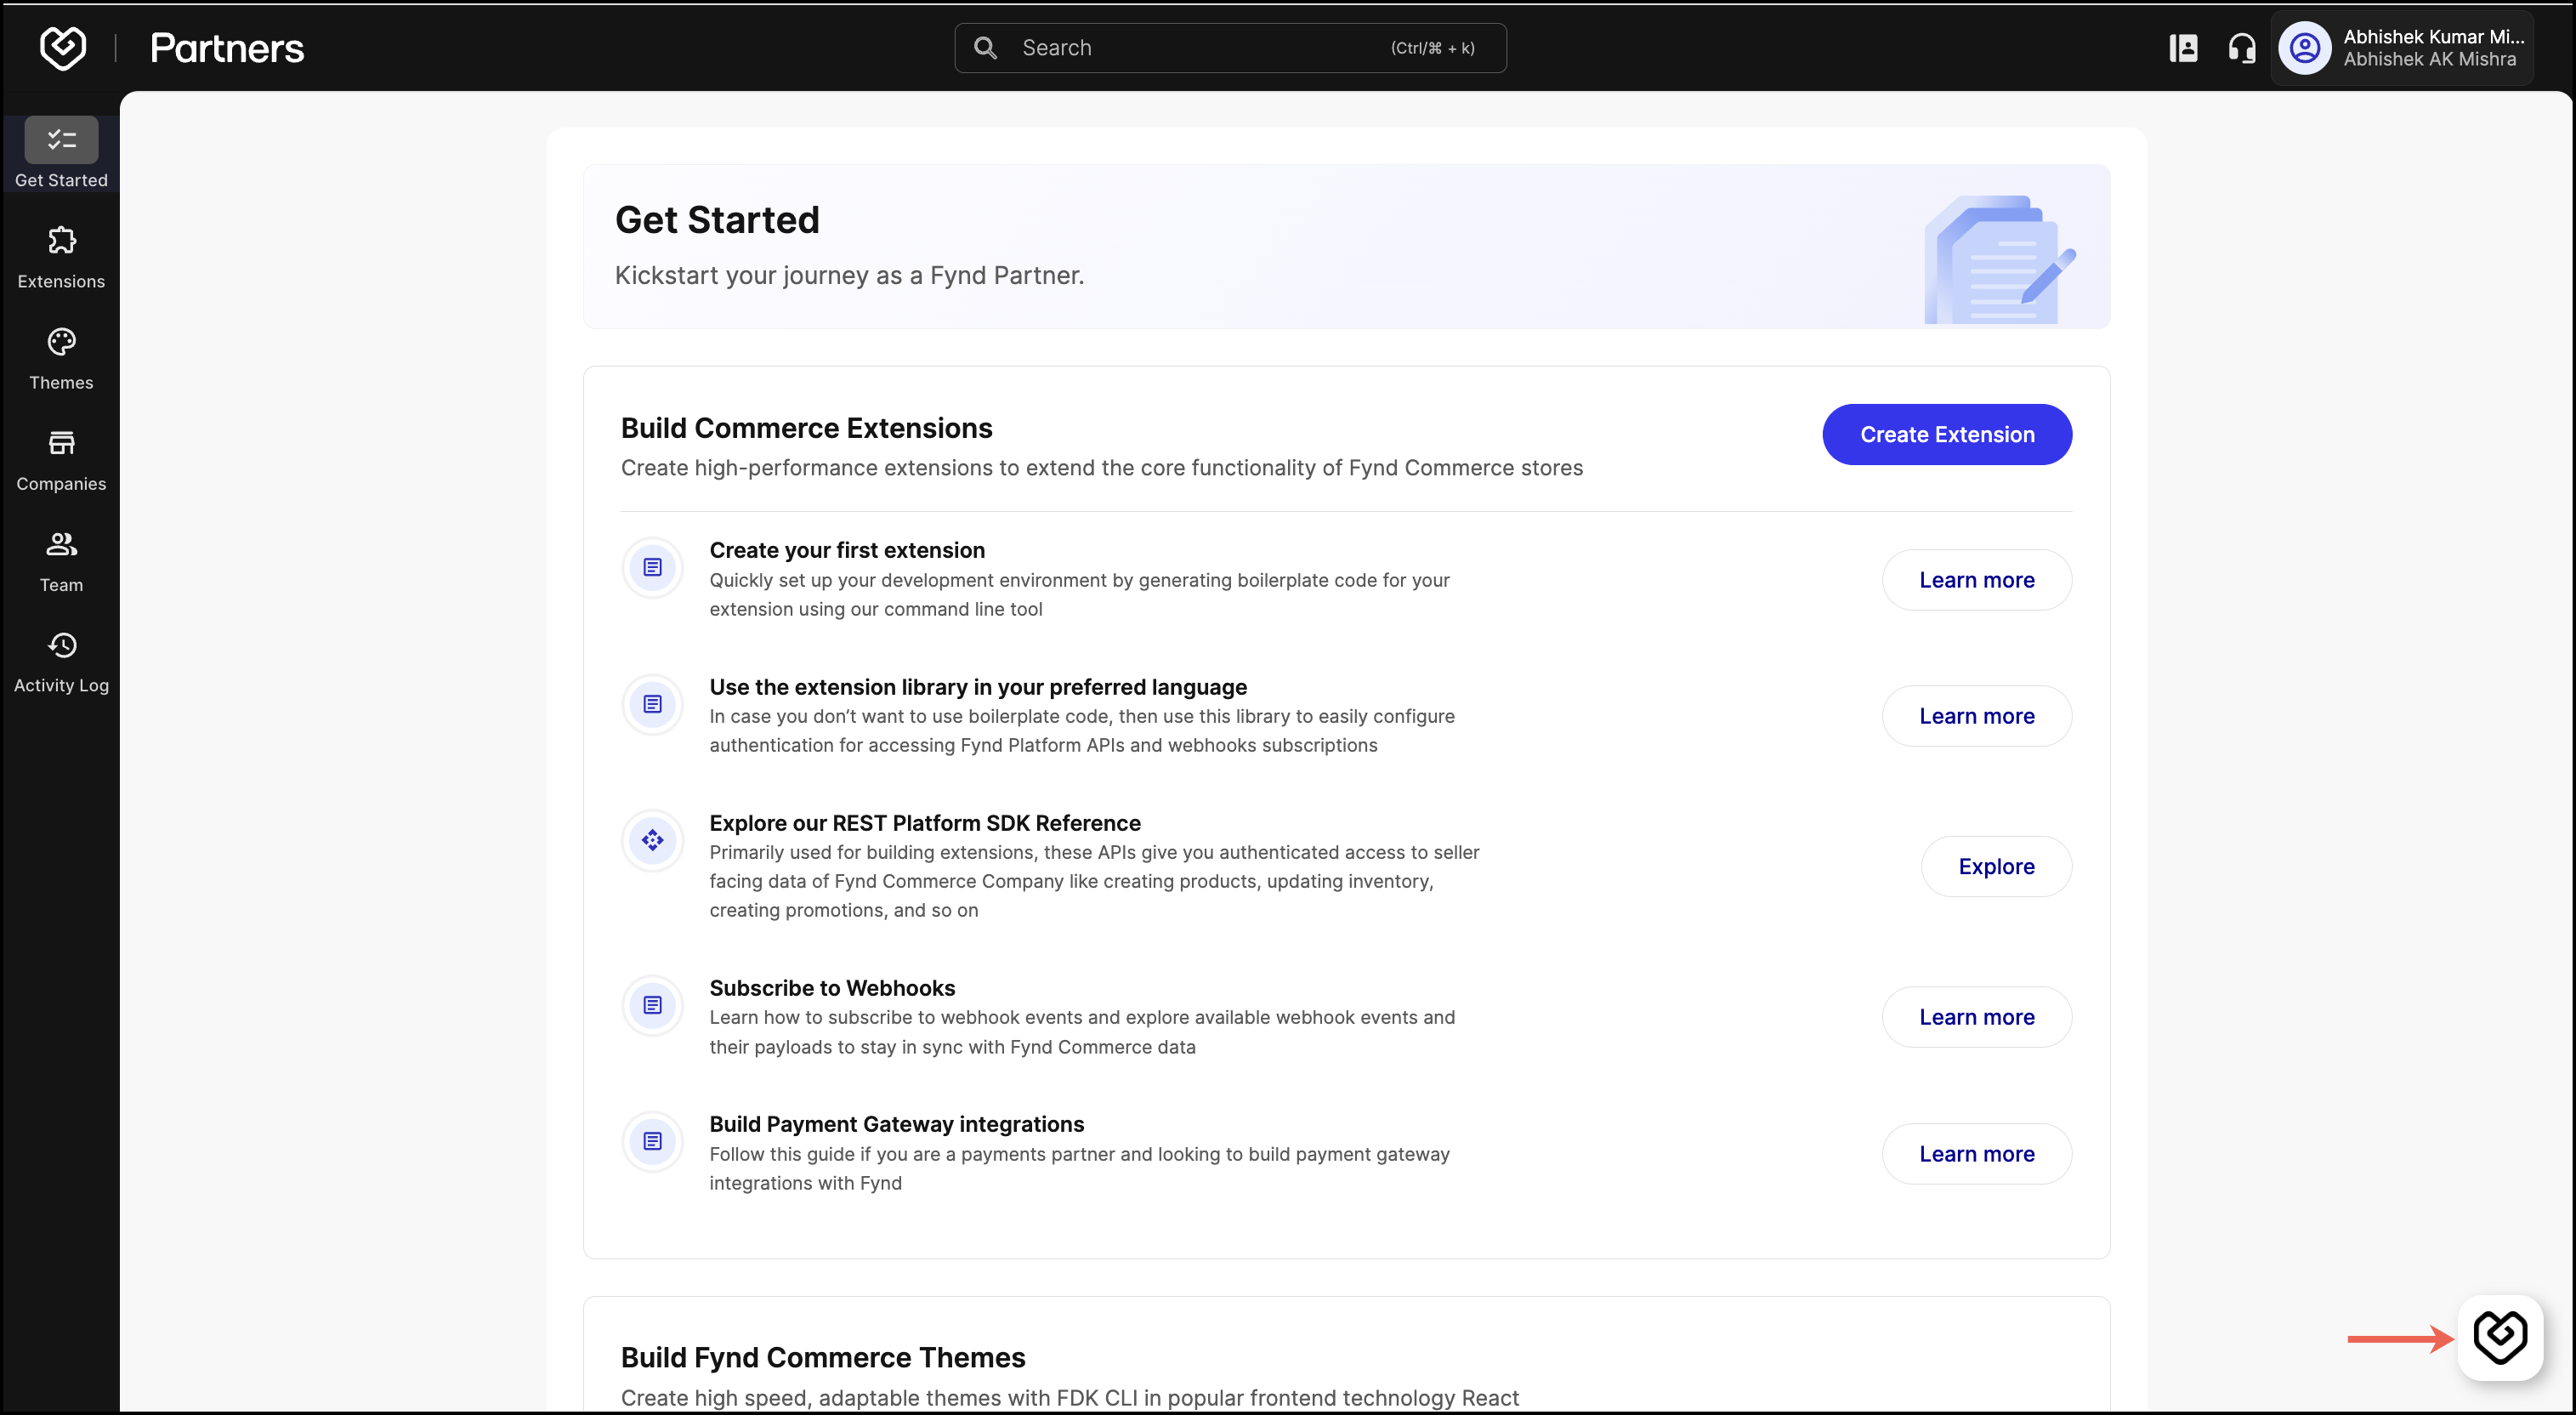
2. Developer Support
For issues that require technical investigation or cannot be resolved via Copilot, raise a support ticket through the Fynd Partner panel.
When creating a ticket, you’ll be prompted to select a severity level.
Refer to the Severity and Priority Categorization table for definitions, examples, and SLA timelines.
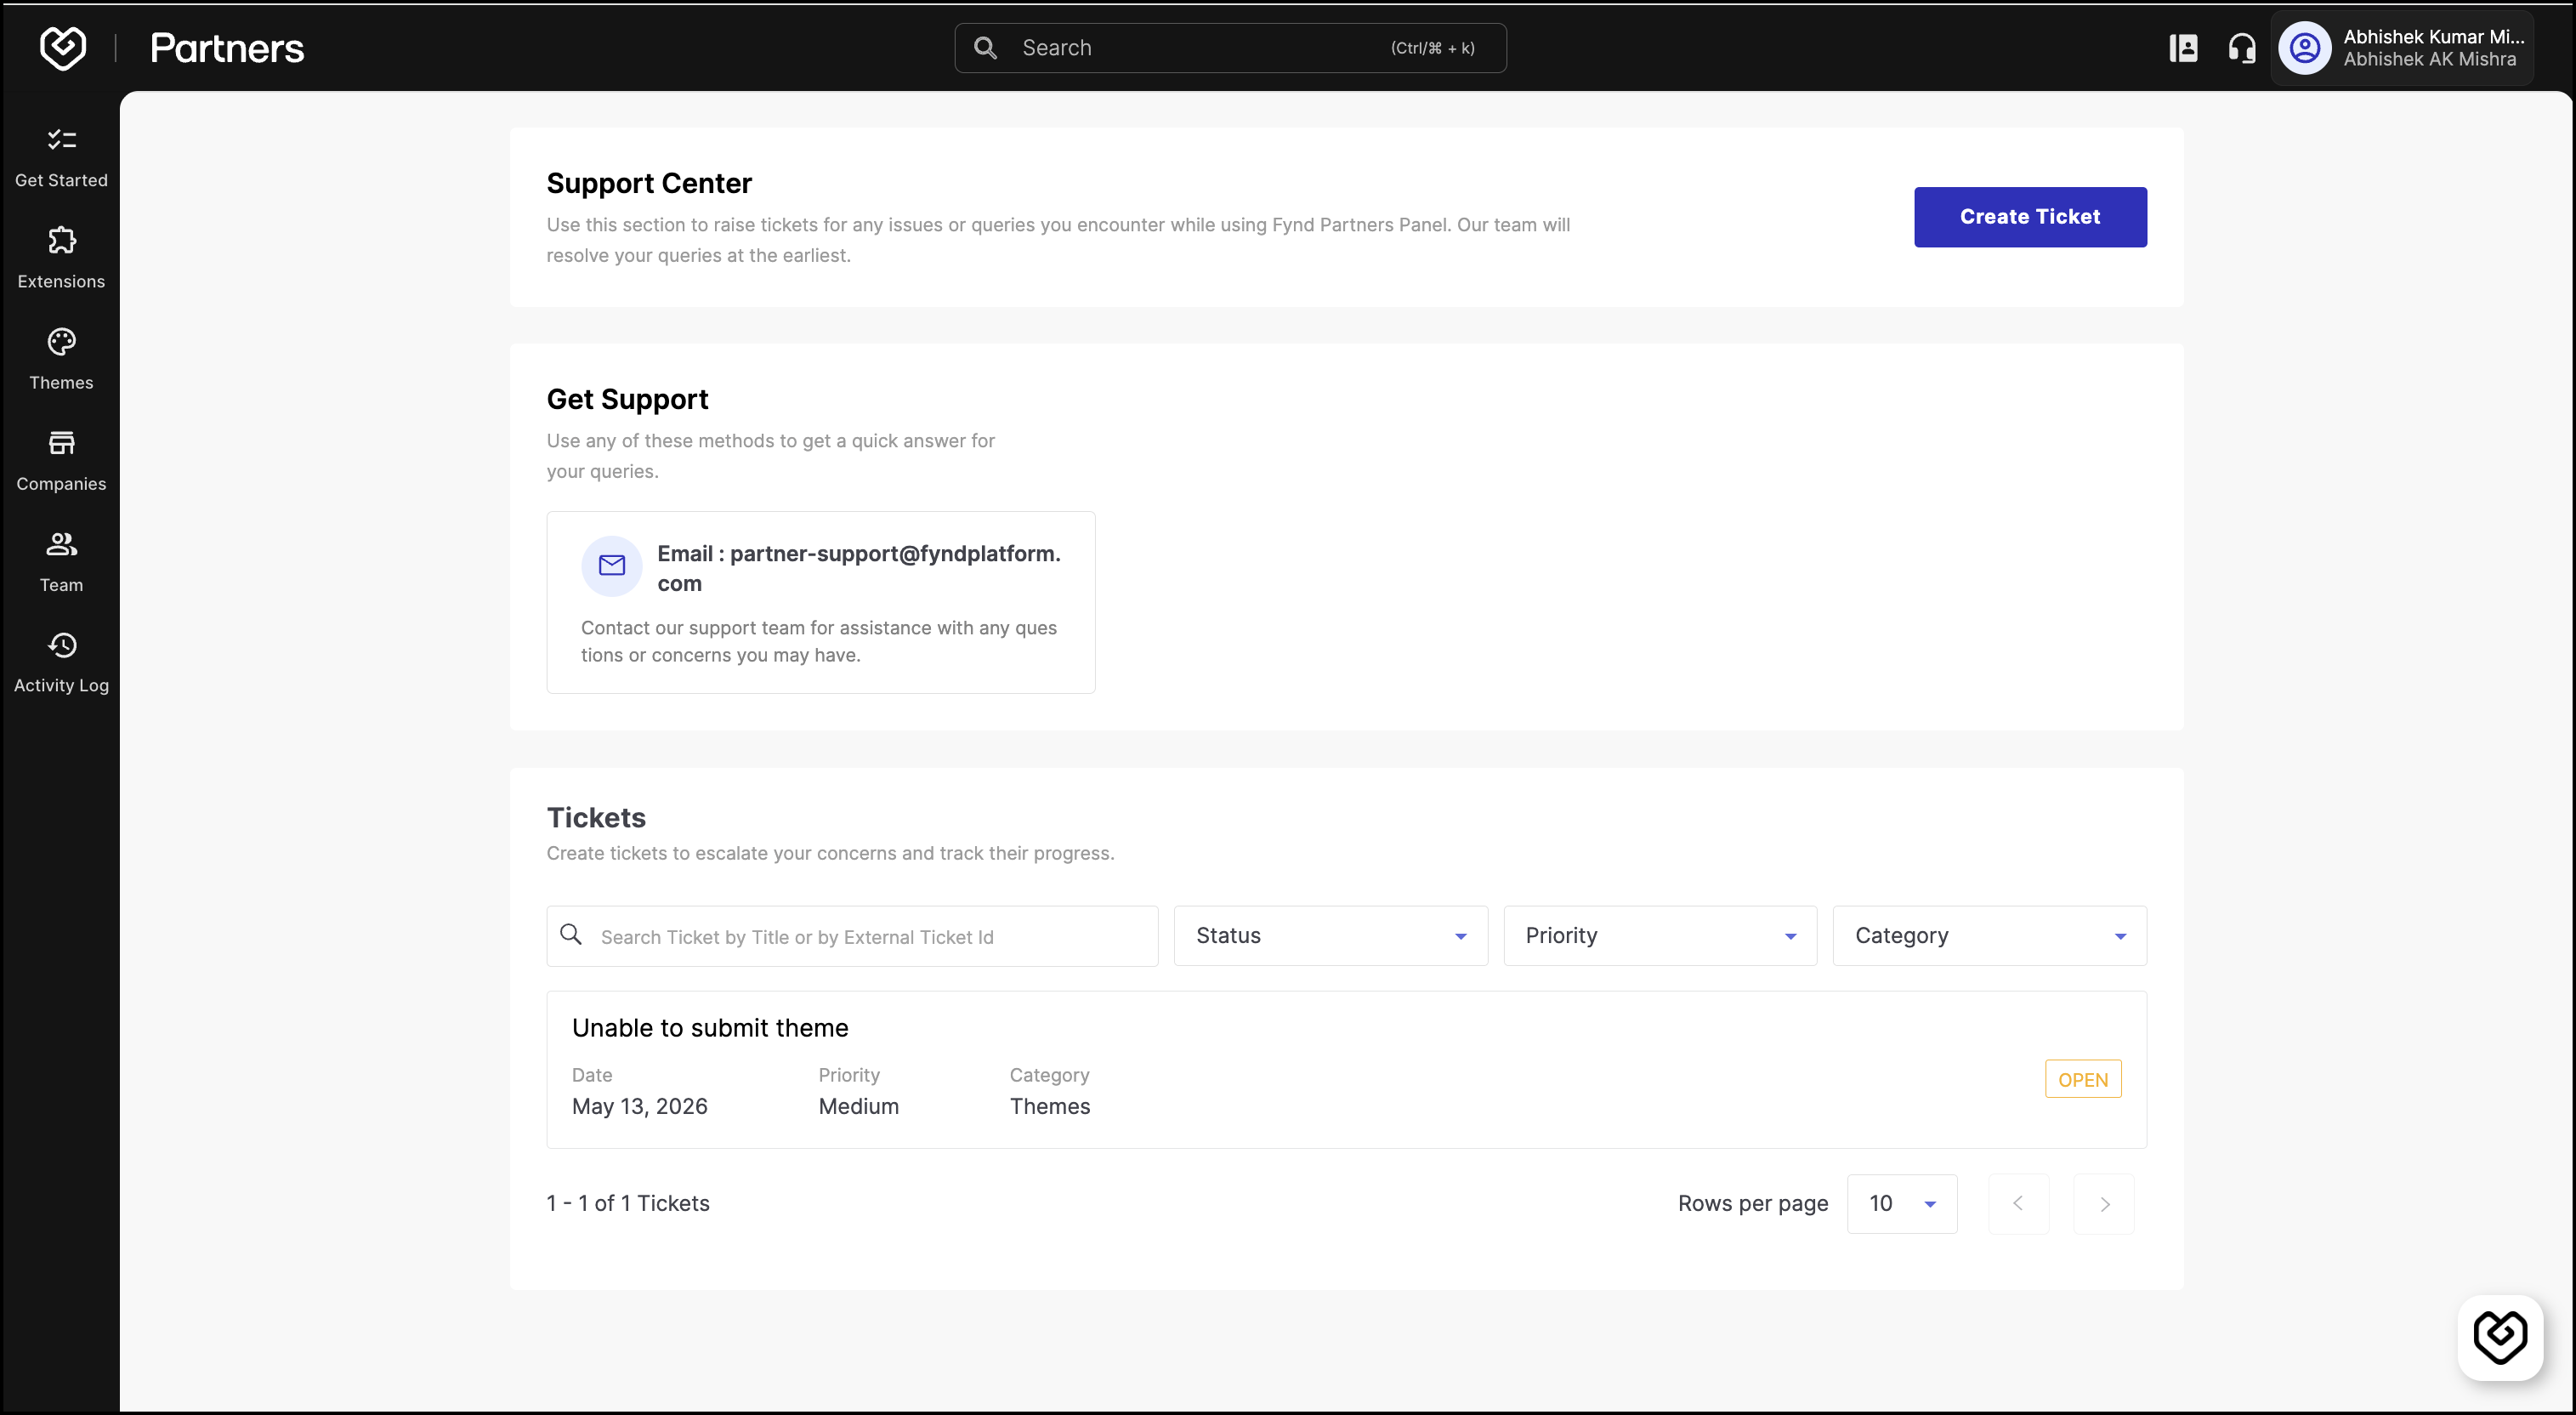
Create a Support Ticket
Follow these steps to create a support ticket:
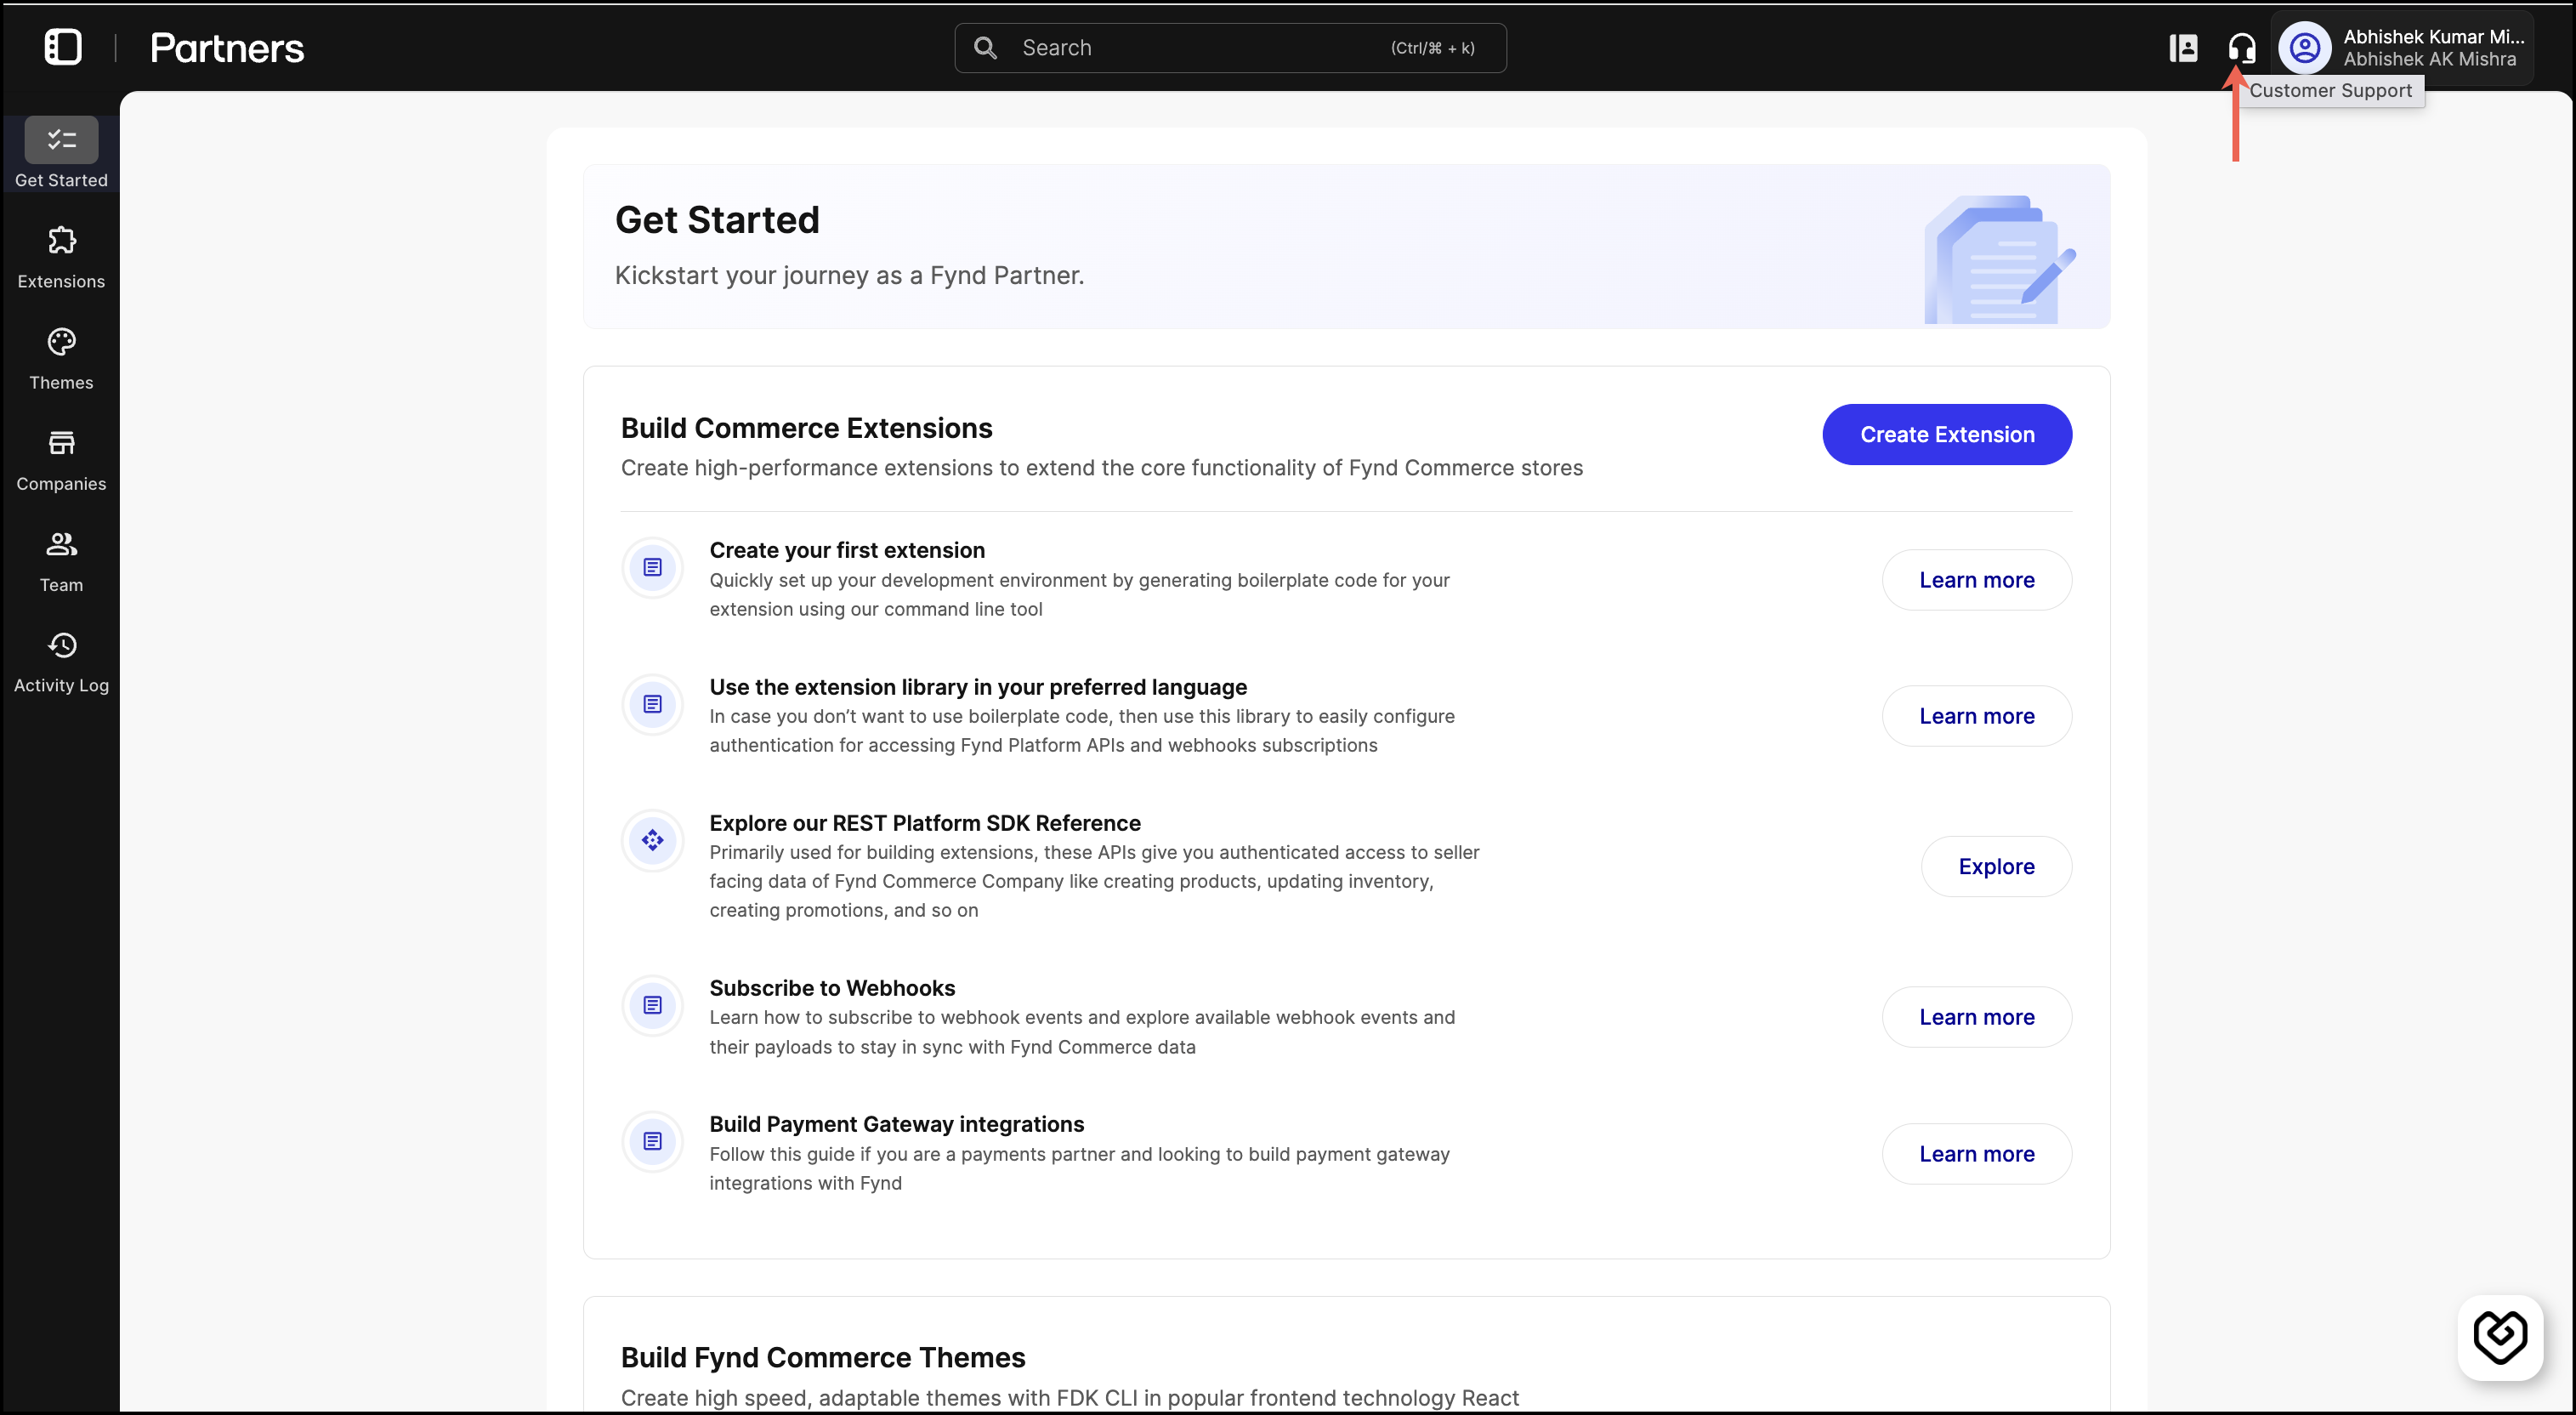
-
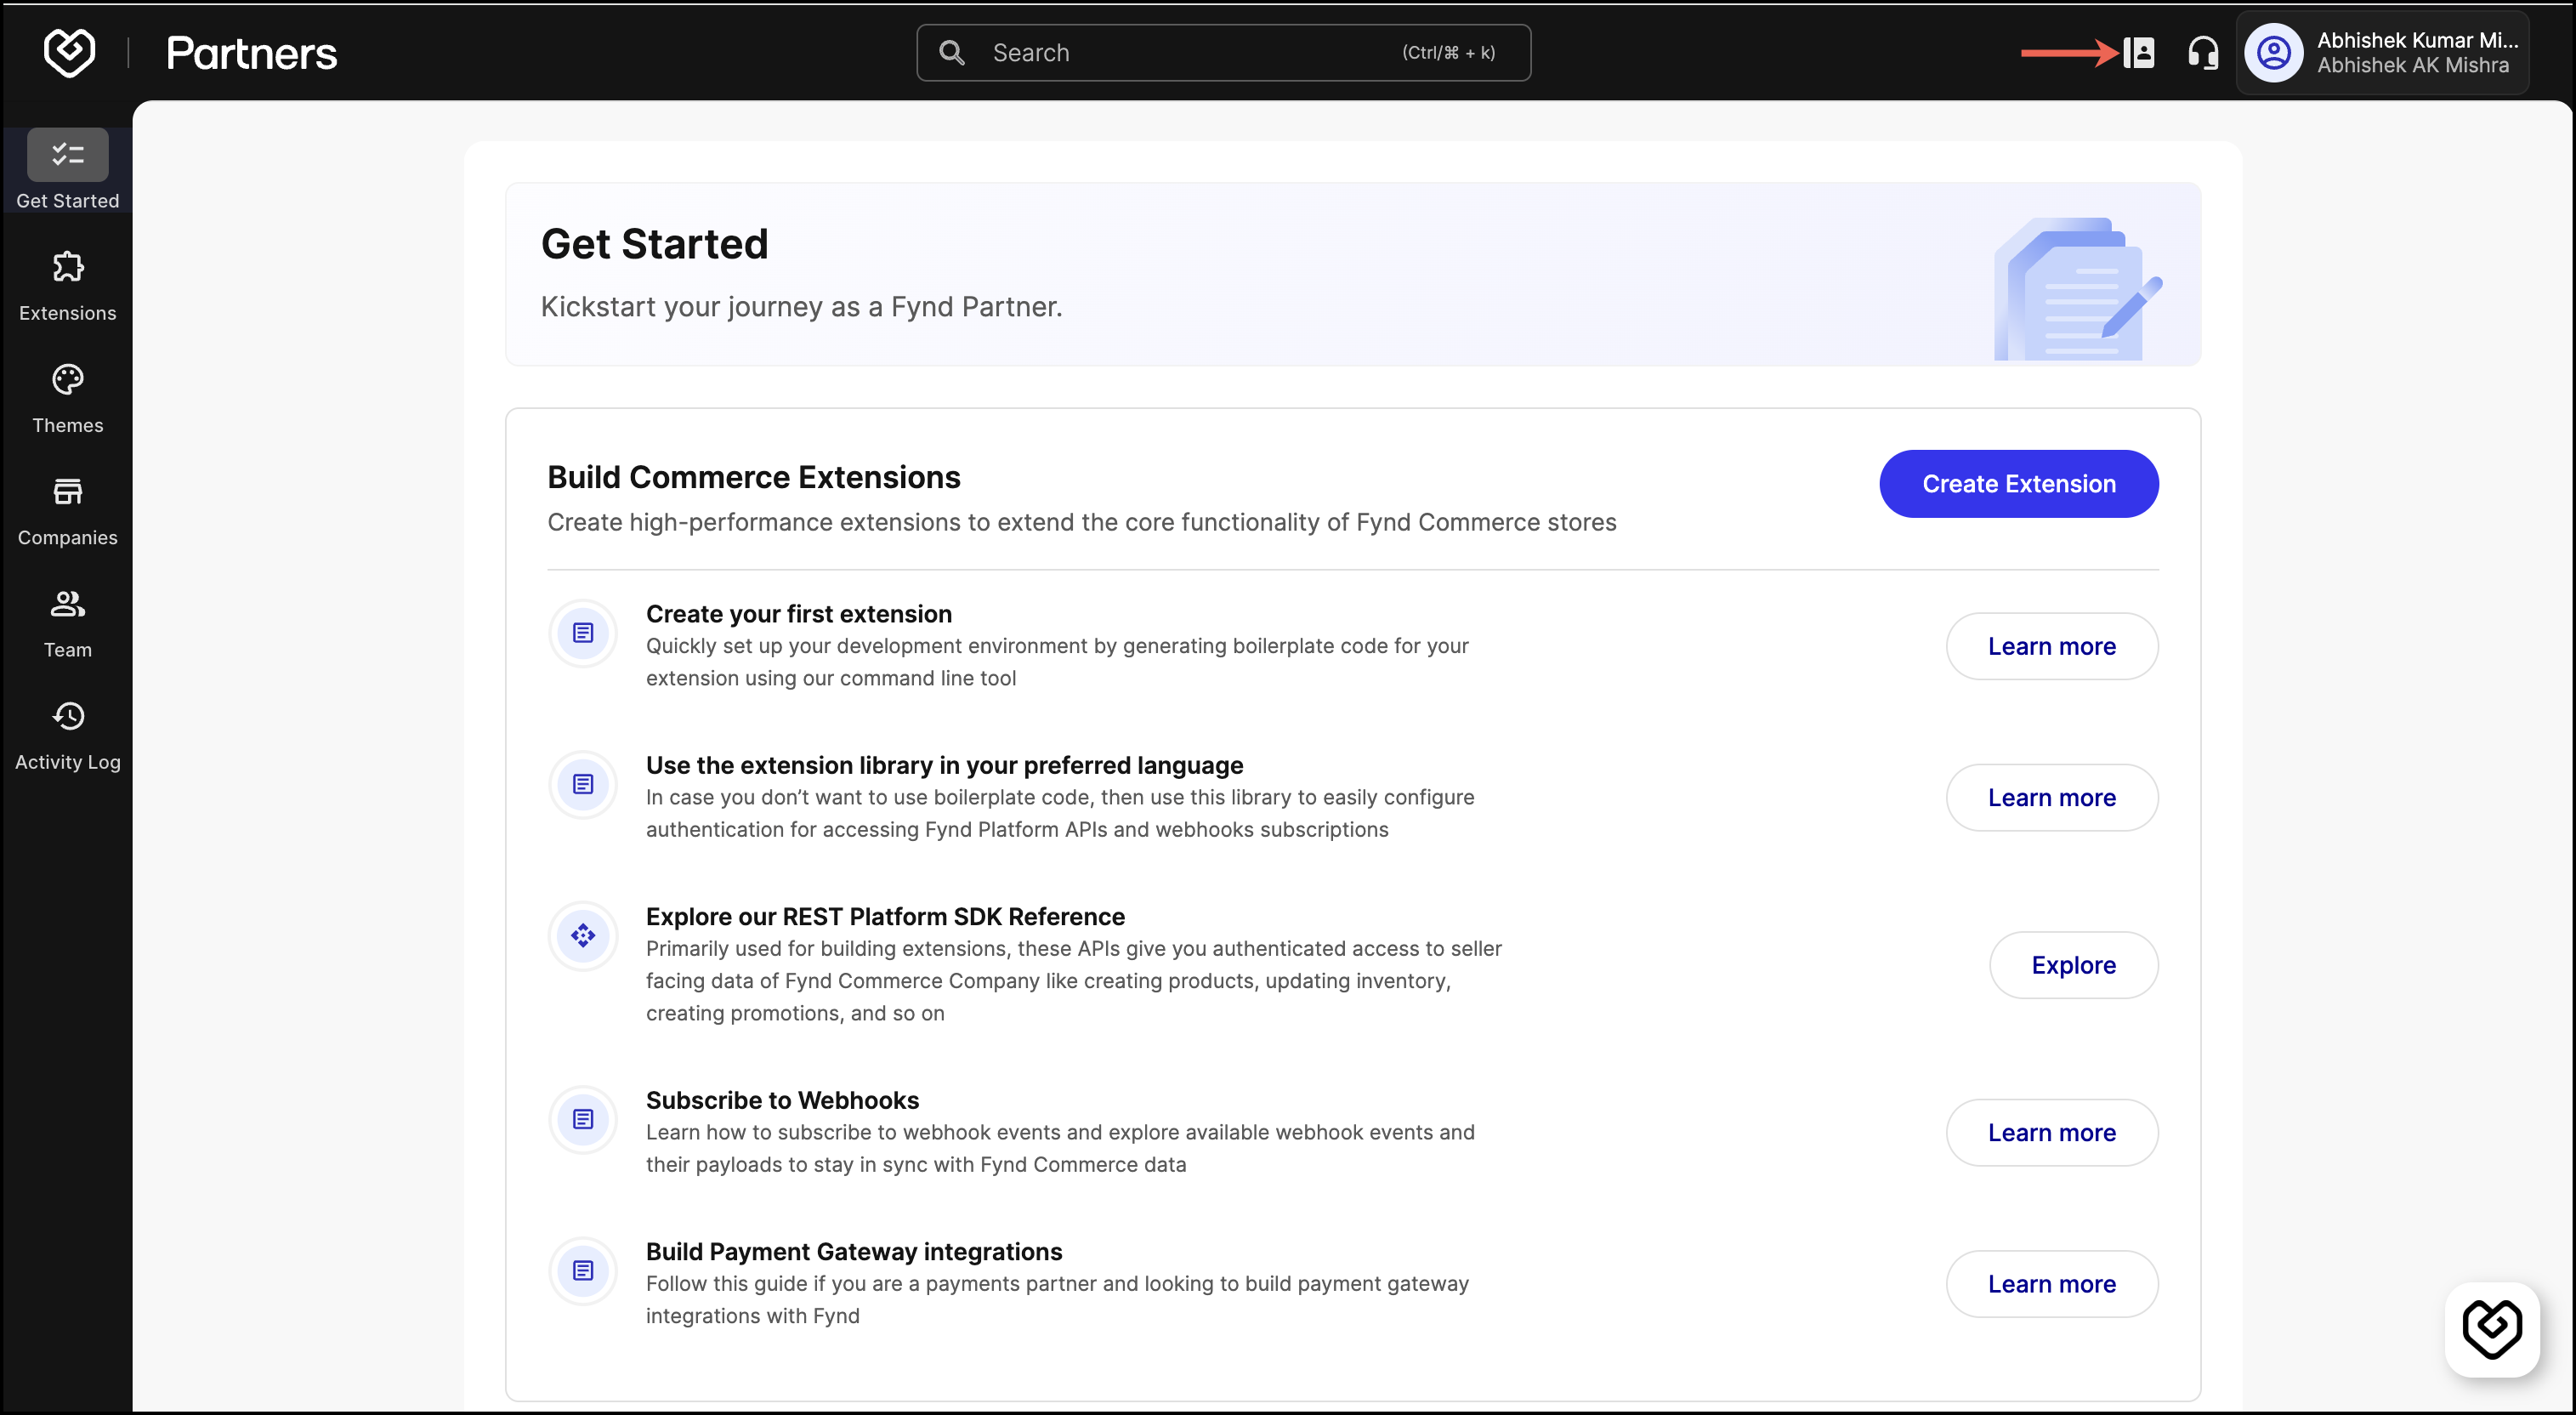
Click on the Customer Support icon to access the support center.
-
Click Create Ticket. The Create Ticket page has two sections: (1) Details and (2) Assign
-
In the Details section, fill in the following details:
- Title: Enter a name for the ticket. This name will be visible to the support team.
- Description: Provide a detailed description.
-
In the Assign section, fill in the following details:
- Priority: Choose the priority level to help the support team address it appropriately.
- Category: Choose a category that best fits the nature of the incident.
- Subscribers: You can include other team members who need to be kept in the loop.
- Attachments: Upload any relevant files or documents that provide additional context or evidence of your incident.
-
Click Create. A success notification will appear when the ticket is successfully created, and the ticket will appear in the list. You will also receive an auto-generated email.
You can open the ticket to view the ticket details. The ticket contains SLA details that show the expected resolution time. The SLA indicator will initially appear in green to signify that the resolution timeframe is within the expected limits. If the resolution date is surpassed, the indicator will turn red. Use the Reply section to respond to developer support.
3. Slack Channel Support (Paid Plans Only)
A dedicated Slack channel is exclusively available for individuals on paid plans. During the onboarding process, participants may utilize this channel to receive prompt responses from our onboarding support team in real time.
This option is exclusively accessible through our paid plans, which come with a monthly fee.
4. Partners Solution Call (Paid Plans Only)
For advanced solutioning and architectural discussions, partners are invited to schedule a solution call. This service is designed for more complex matters. For basic inquiries or issues that can be addressed through Copilot or Customer Support, we encourage you to reach out to those resources. During these calls, queries will be handled in accordance with the Support Structure and Tiers framework to ensure proper escalation and ownership of each matter.
This option is exclusively accessible through our paid plans, which come with a monthly fee.
Severity and Priority Categorization
| Severity | Definition | Examples | SLA Response Time | SLA Resolution Time |
|---|---|---|---|---|
| P1 (Critical) | Major outage affecting all users; business operations are halted | Site down, login failure, API unresponsive, payment gateway failure, security breach | 30 minutes | 1 hour mitigation, 4 hours resolution |
| P2 (High) | Severe issue affecting core business functions but not fully down | Order processing delays, store sync failures, partial payment gateway issues | 1 hour | 4 hours mitigation, 8 hours resolution |
| P3 (Medium) | Non-critical issues affecting a subset of users; workaround is available | Minor UI issues, report generation failures, delayed notifications | 4 hours | 24 hours resolution |
| P4 (Low) | Low-impact issues or feature requests with no significant business disruption | General queries, minor UX fixes, configuration requests | 12 hours | 72 hours resolution |
Support Structure and Tiers
Support tiers refer to organizing your support team into different levels based on their expertise to effectively handle incoming support issues.
| Support Tier | Scope of Responsibilities | Availability | Escalation Path |
|---|---|---|---|
| Level 0 (L0) Support | Automated monitoring, critical issues | 24×7 | Escalates to L1 based on predefined alert thresholds |
| Level 1 (L1) Support / Support Agents | Non-Technical Issues: Basic troubleshooting, user queries, configuration support, FAQs | 16×7 (Peak Hours: 8 AM – 12 AM) | Escalates to L2 if not resolved within SLA timeframes |
| Level 2 (L2) Support / Prod Engineers | Technical & Product Issues: Advanced troubleshooting, payment/API issues, minor bugs | 16×7 (Peak Hours: 8 AM – 12 AM) | Escalates to L3 for unresolved or critical system-level issues |
| Level 3 (L3) Engineering (Paid Plans Only) | Infrastructure Issues: System bugs, platform outages, data loss recovery, security | On-Call (24×7) | Immediate escalation to Engineering & Cloud Infrastructure teams |