Get Started
This page provides all the steps needed to create your first extension. It covers the following tasks:
- Create Payment Extension in Fynd Commerce
- Install Fynd Development Kit Command-line Interface (FDK-CLI)
- Download the boilerplate
- Populate test data
- Preview your extension
Prerequisite
Before getting started, you'll need the following:
- Git↗ and Node.js v18↗ or later
- Account in Fynd Partners↗
- Development Company
Steps to create a Development Company
- Go to Fynd Partners↗.
- Login to the Fynd Partners.
- Select a suitable organization.
- In the left pane, click Companies and go to Development tab.
- Click Add.
- Fill in the required details.
- Click Save. Your account is created and will be available in the development company page.
- Click the required development company from the listing page. You will be redirected to the development company in the Fynd Commerce.
1. Create Payment Extension in Fynd Commerce
- Login Fynd Partners portals.
- Click Create Extension. A form will appear where you need to provide details for your payment extension. Ensure you fill out all the necessary fields:
- Fill in the following details:
- Extension Name: Enter a name for your extension
- Extension Type: Select Payment from the extension type dropdown.
- Click Create. The Payment extension will be crated.
- Go to Extension tab and click on the extension you have created.
- Navigate to Extension Setup section and click Edit.
- You can update the following details:
- Distribution Method: The payment extension distribution type is set to Private by default.
- Basic Details:
- Extension Name
- Contact Email: Provide an email address through which Fynd can reach you in case of urgent issues with your extension.
- Logo: Upload a logo that represents your extension.
- Description: Write a brief description of your payment extension's functionality.
- Extension URL:
- The Extension URL is the server URL where your extension is hosted. The Fynd Commerce uses this URL to communicate with your extension.
- Refer to Setup Local Development Environment to generate URL and add the same here.
- Permissions:
- The required permissions for your payment extension are assigned automatically. However, if additional permissions are needed, you can request them by toggling the Request Additional Permissions option. This will allow your extension to interact with other Fynd Commerce APIs.
- Refund Capability:
- Clear Return to Source supported box and Allow Refunds box if your PG extension does not support refunds to the original payment method.
2. Install FDK CLI
The FDK CLI simplifies theme and extension development using commands for creating, testing, and deploying projects. For more details, refer to the GitHub documentations↗.
- Run the following command in your terminal to install FDK CLI:
npm install -g @gofynd/fdk-cli
You can run fdk --version to check if FDK CLI is successfully installed.
3. Download the Boilerplate
We have developed a Boilerplate code that serves as a foundation for creating a Payment Extension. Download the Payments Boilerplate code from Here or use the following command:
git clone --branch extension_boilerplate_v1_it https://github.com/gofynd/payment-extension-boilerplate.git
4. Populate Test Data
- Run the following command to navigate to the extension directory:
cd "extension-name"
- Run the following command:
fdk populate
- Select your development company.

The fdk populate command adds a predefined set of products to the selected development company. This can be done only once per development company. However, if preferred, you can also create the products manually.
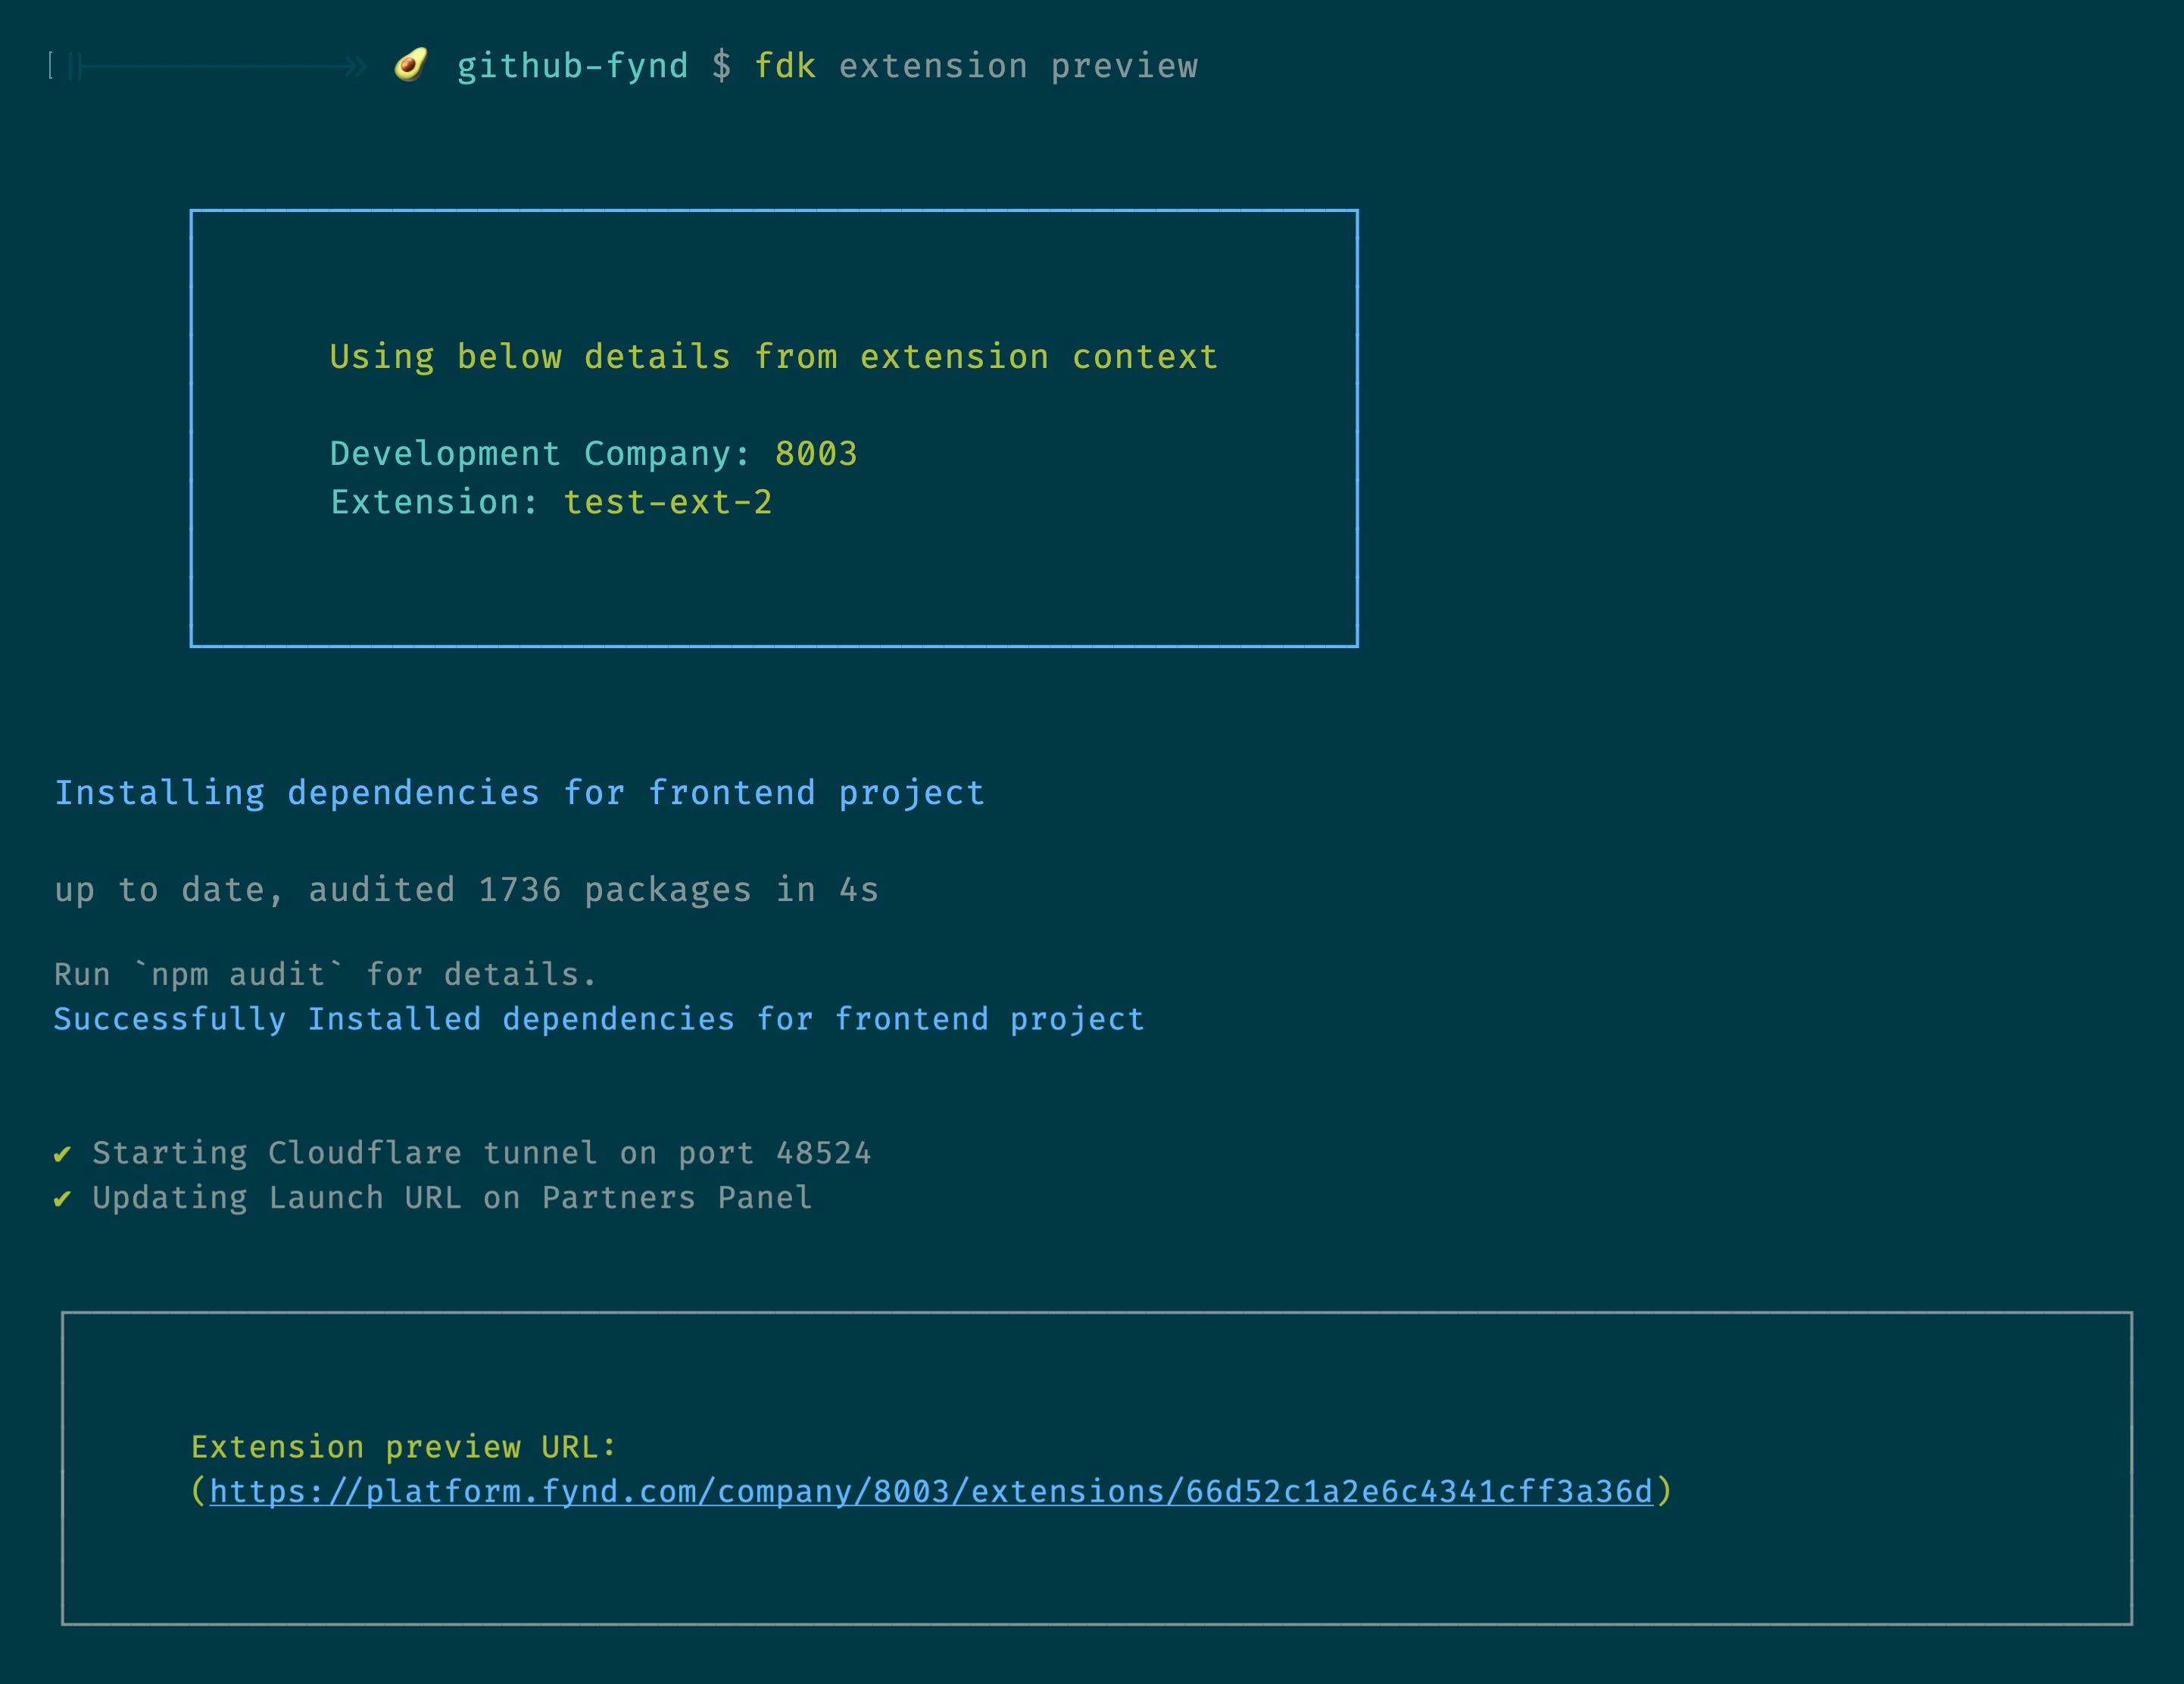
5. Preview Your Extension
-
Run the following command:
fdk extension previewBy default, FDK uses a Cloudflare tunnel to expose your local extension for preview. If you prefer to use a different tunneling service, refer to Preview Extension with Custom Tunnel for steps.
-
Copy the preview URL from your terminal into the browser.
- Click Accept and Continue.
You've successfully created and launched your first extension.
Preview Extension with Custom Tunnel
To enhance flexibility during local development, FDK supports a custom tunnel URL in the fdk extension preview command.
By default, FDK uses Cloudflare to expose your local extension. However, you might prefer to use other tunneling service for extension preview.
There are two ways to preview your extension using custom tunnel:
--custom-tunnelflag
fdk extension preview --custom-tunnel
When you run this command, the CLI will prompt you to enter a custom tunnel URL. This tunnel must be listening on the port number suggested by the CLI.
For example:
? Please enter the Tunnel URL that is listening on port 46456 : https://you-tunnel-url
If you do not to provide a custom tunnel, the FDK will automatically use to the default Cloudflare tunnel.
--tunnel-urland--portflag
fdk extension preview --tunnel-url https://your-tunnel-url --port <port-number>
This method bypasses the interactive prompt by directly specifying the tunnel URL and port number when running the command.
Next Steps
Explore the Extension Development Guide to understand the how Boilerplate code works.