Search & Recommendations
Introduction
Search & Recommendations extension enhances selected Sales Channels by optimizing Product Listing Pages (PLPs), refining search word predictions, and improving filters. The data flow involves transferring information from the platform to Algolia, where it is stored and powers storefront listing pages. While the data can be obtained through a catalog data loader, the Algolia extension elevates accuracy in results and search predictions, optimizing search-to-result time.
Key functionalities include indexing, sorting, and mapping for effective data organization. The Auto Complete Menu provides quick, intuitive suggestions, and Search Analytics offers insights into user behaviour. The Data Loader ensures seamless data transfer, while the File Uploader simplifies file uploads. In summary, the Algolia extension comprehensively enhance the search experience, optimizing the functionality and efficiency of Sales Channels in e-commerce.
Steps to use Search & Recommendations Extension
Go to Extensions in Fynd Commerce.
Open Search & Recommendations.
Choose from the available integrations:
- Common – Manage global settings.
- Algolia – Optimise search using Algolia APIs.
- Google Retail Search – Sync and manage search with Google.
Using Algolia in Search & Recommendations
The Algolia integration provides advanced tools to configure search ranking, sort orders, rules, relevance, analytics, and more.
Set up Algolia Credentials
To activate the integration, first set up your credentials:
- Open Credentials.
.png)
- Enter the Algolia's API Keys in this section to complete the setup for the Algolia extension.
.png)
- Go to algolia.com.
- Select Dashboard > Overview.
- Select the company from the drop-down. Here, we have selected Fynd company.
Go to API Keys.
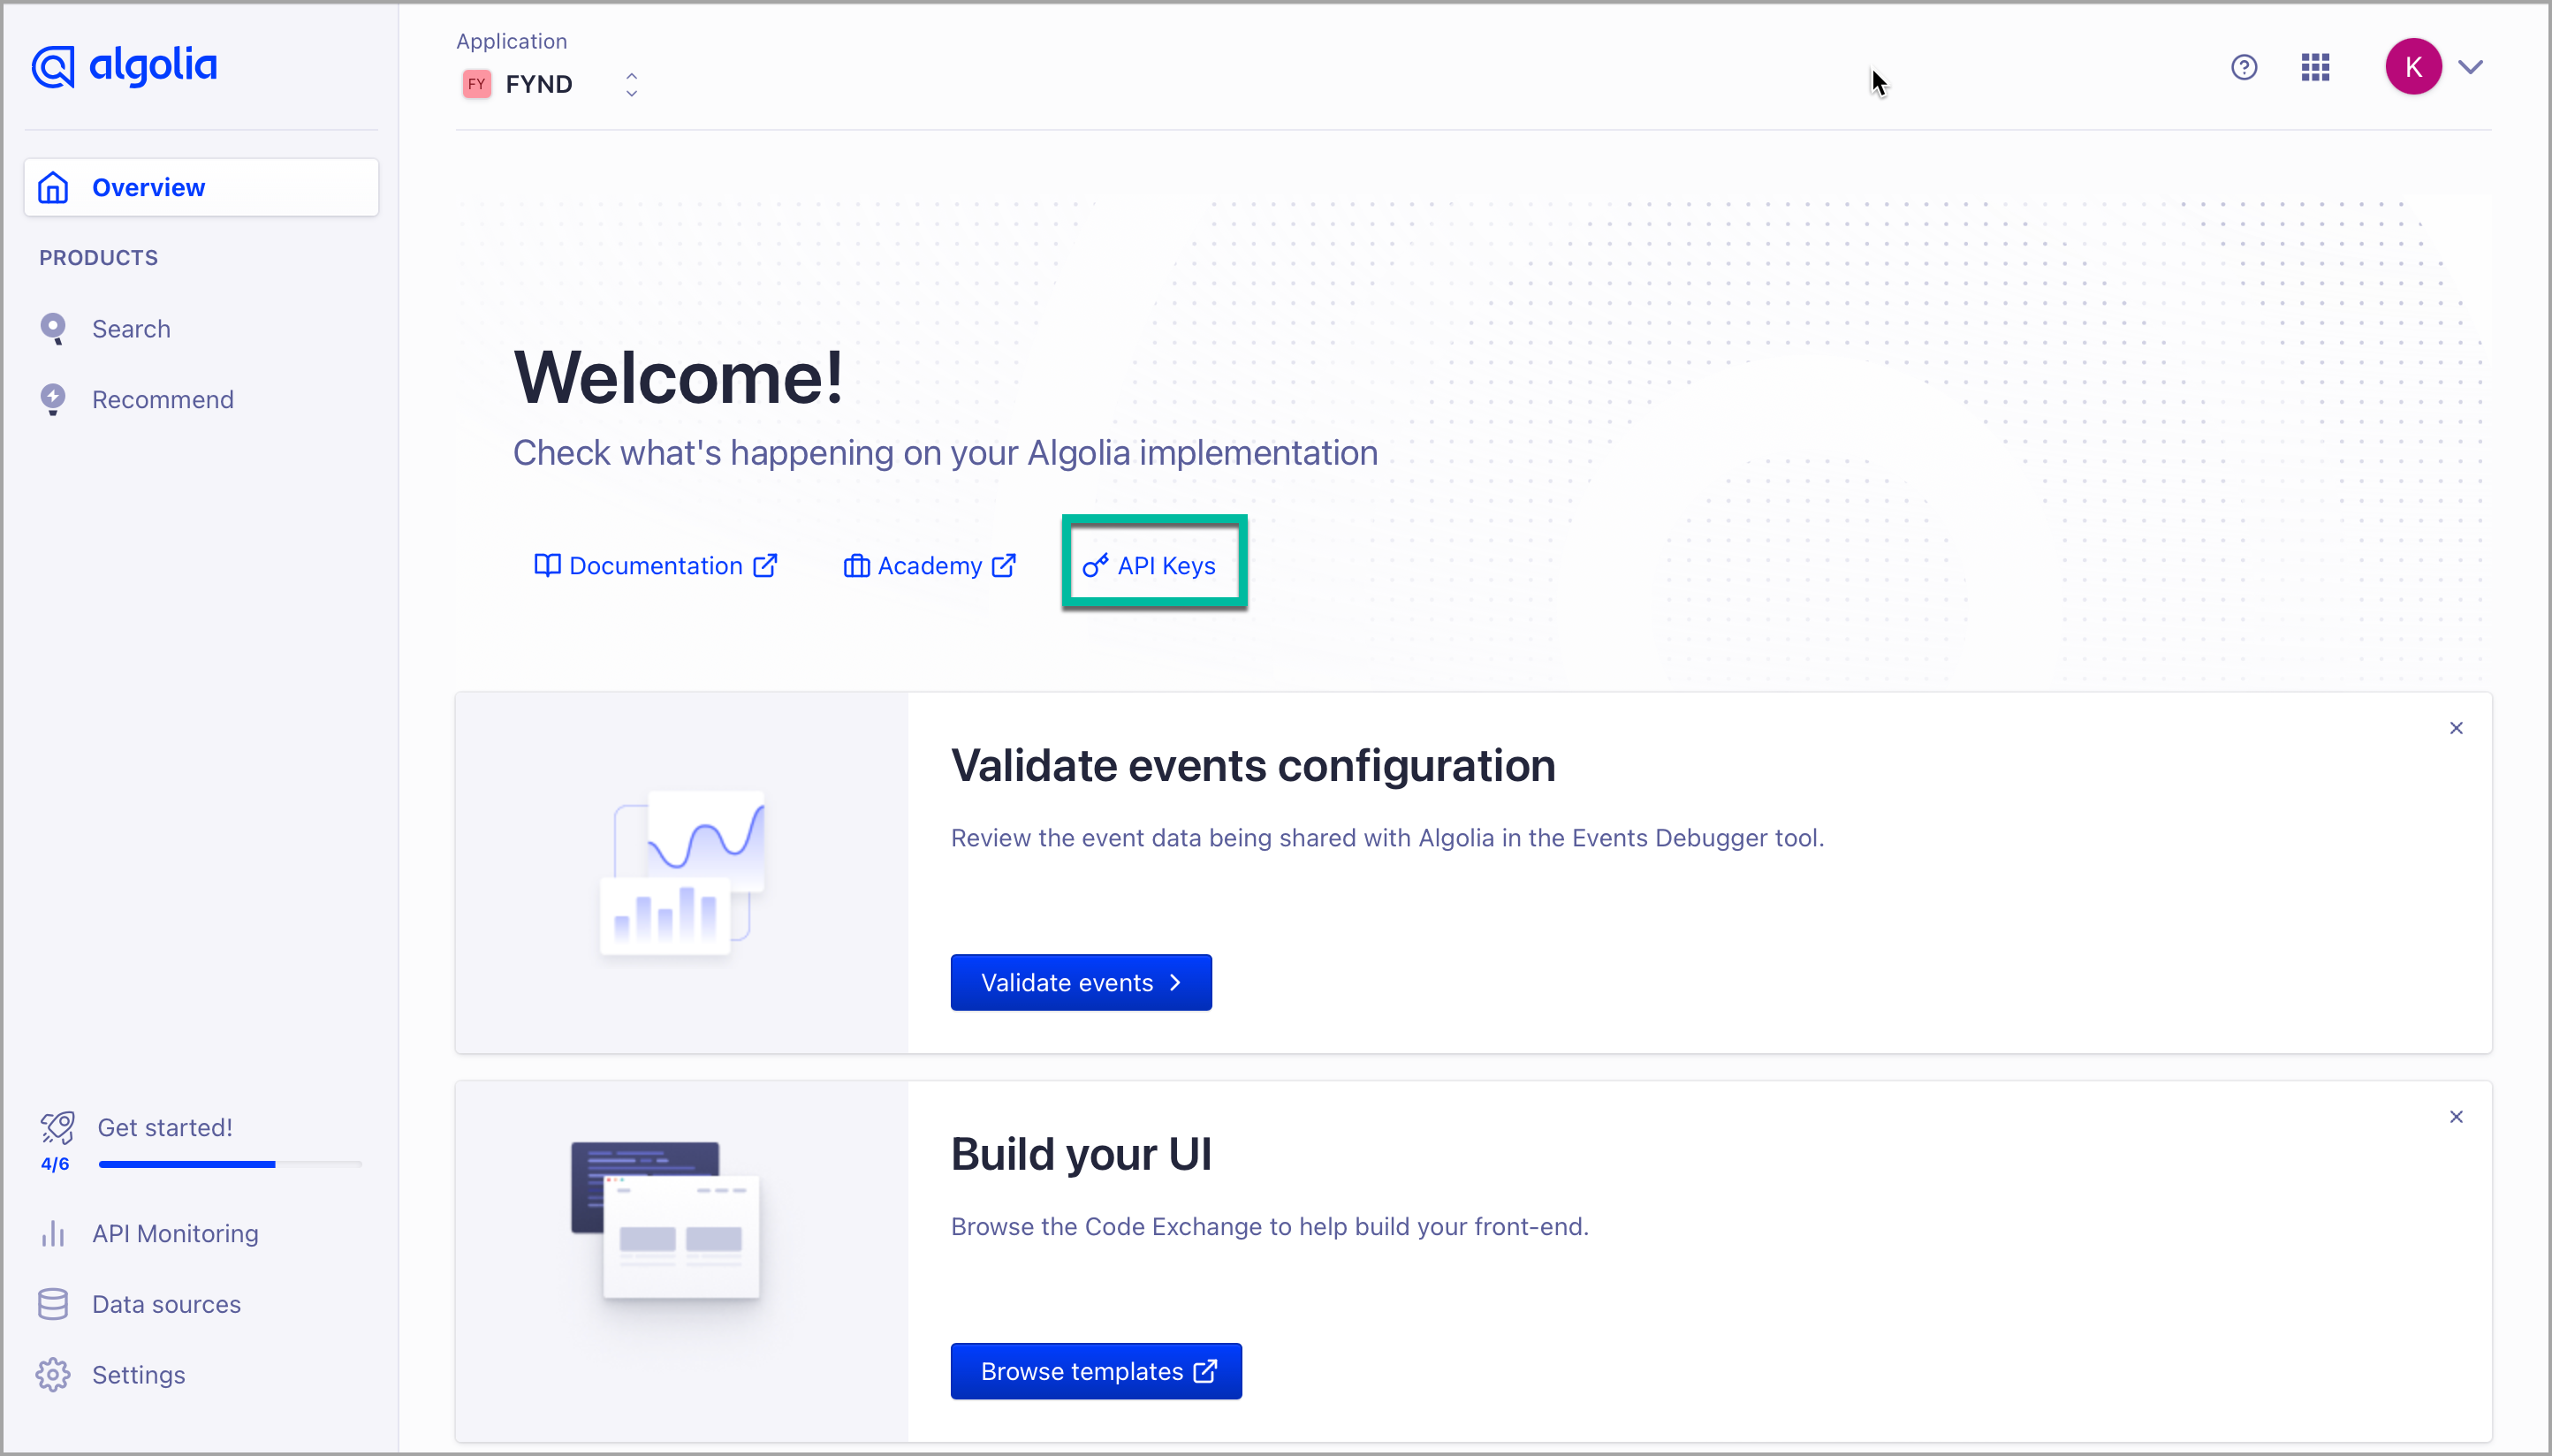
Figure 7: API Keys - Copy the Application ID and paste it into the Application ID field on the Fynd Commerce.
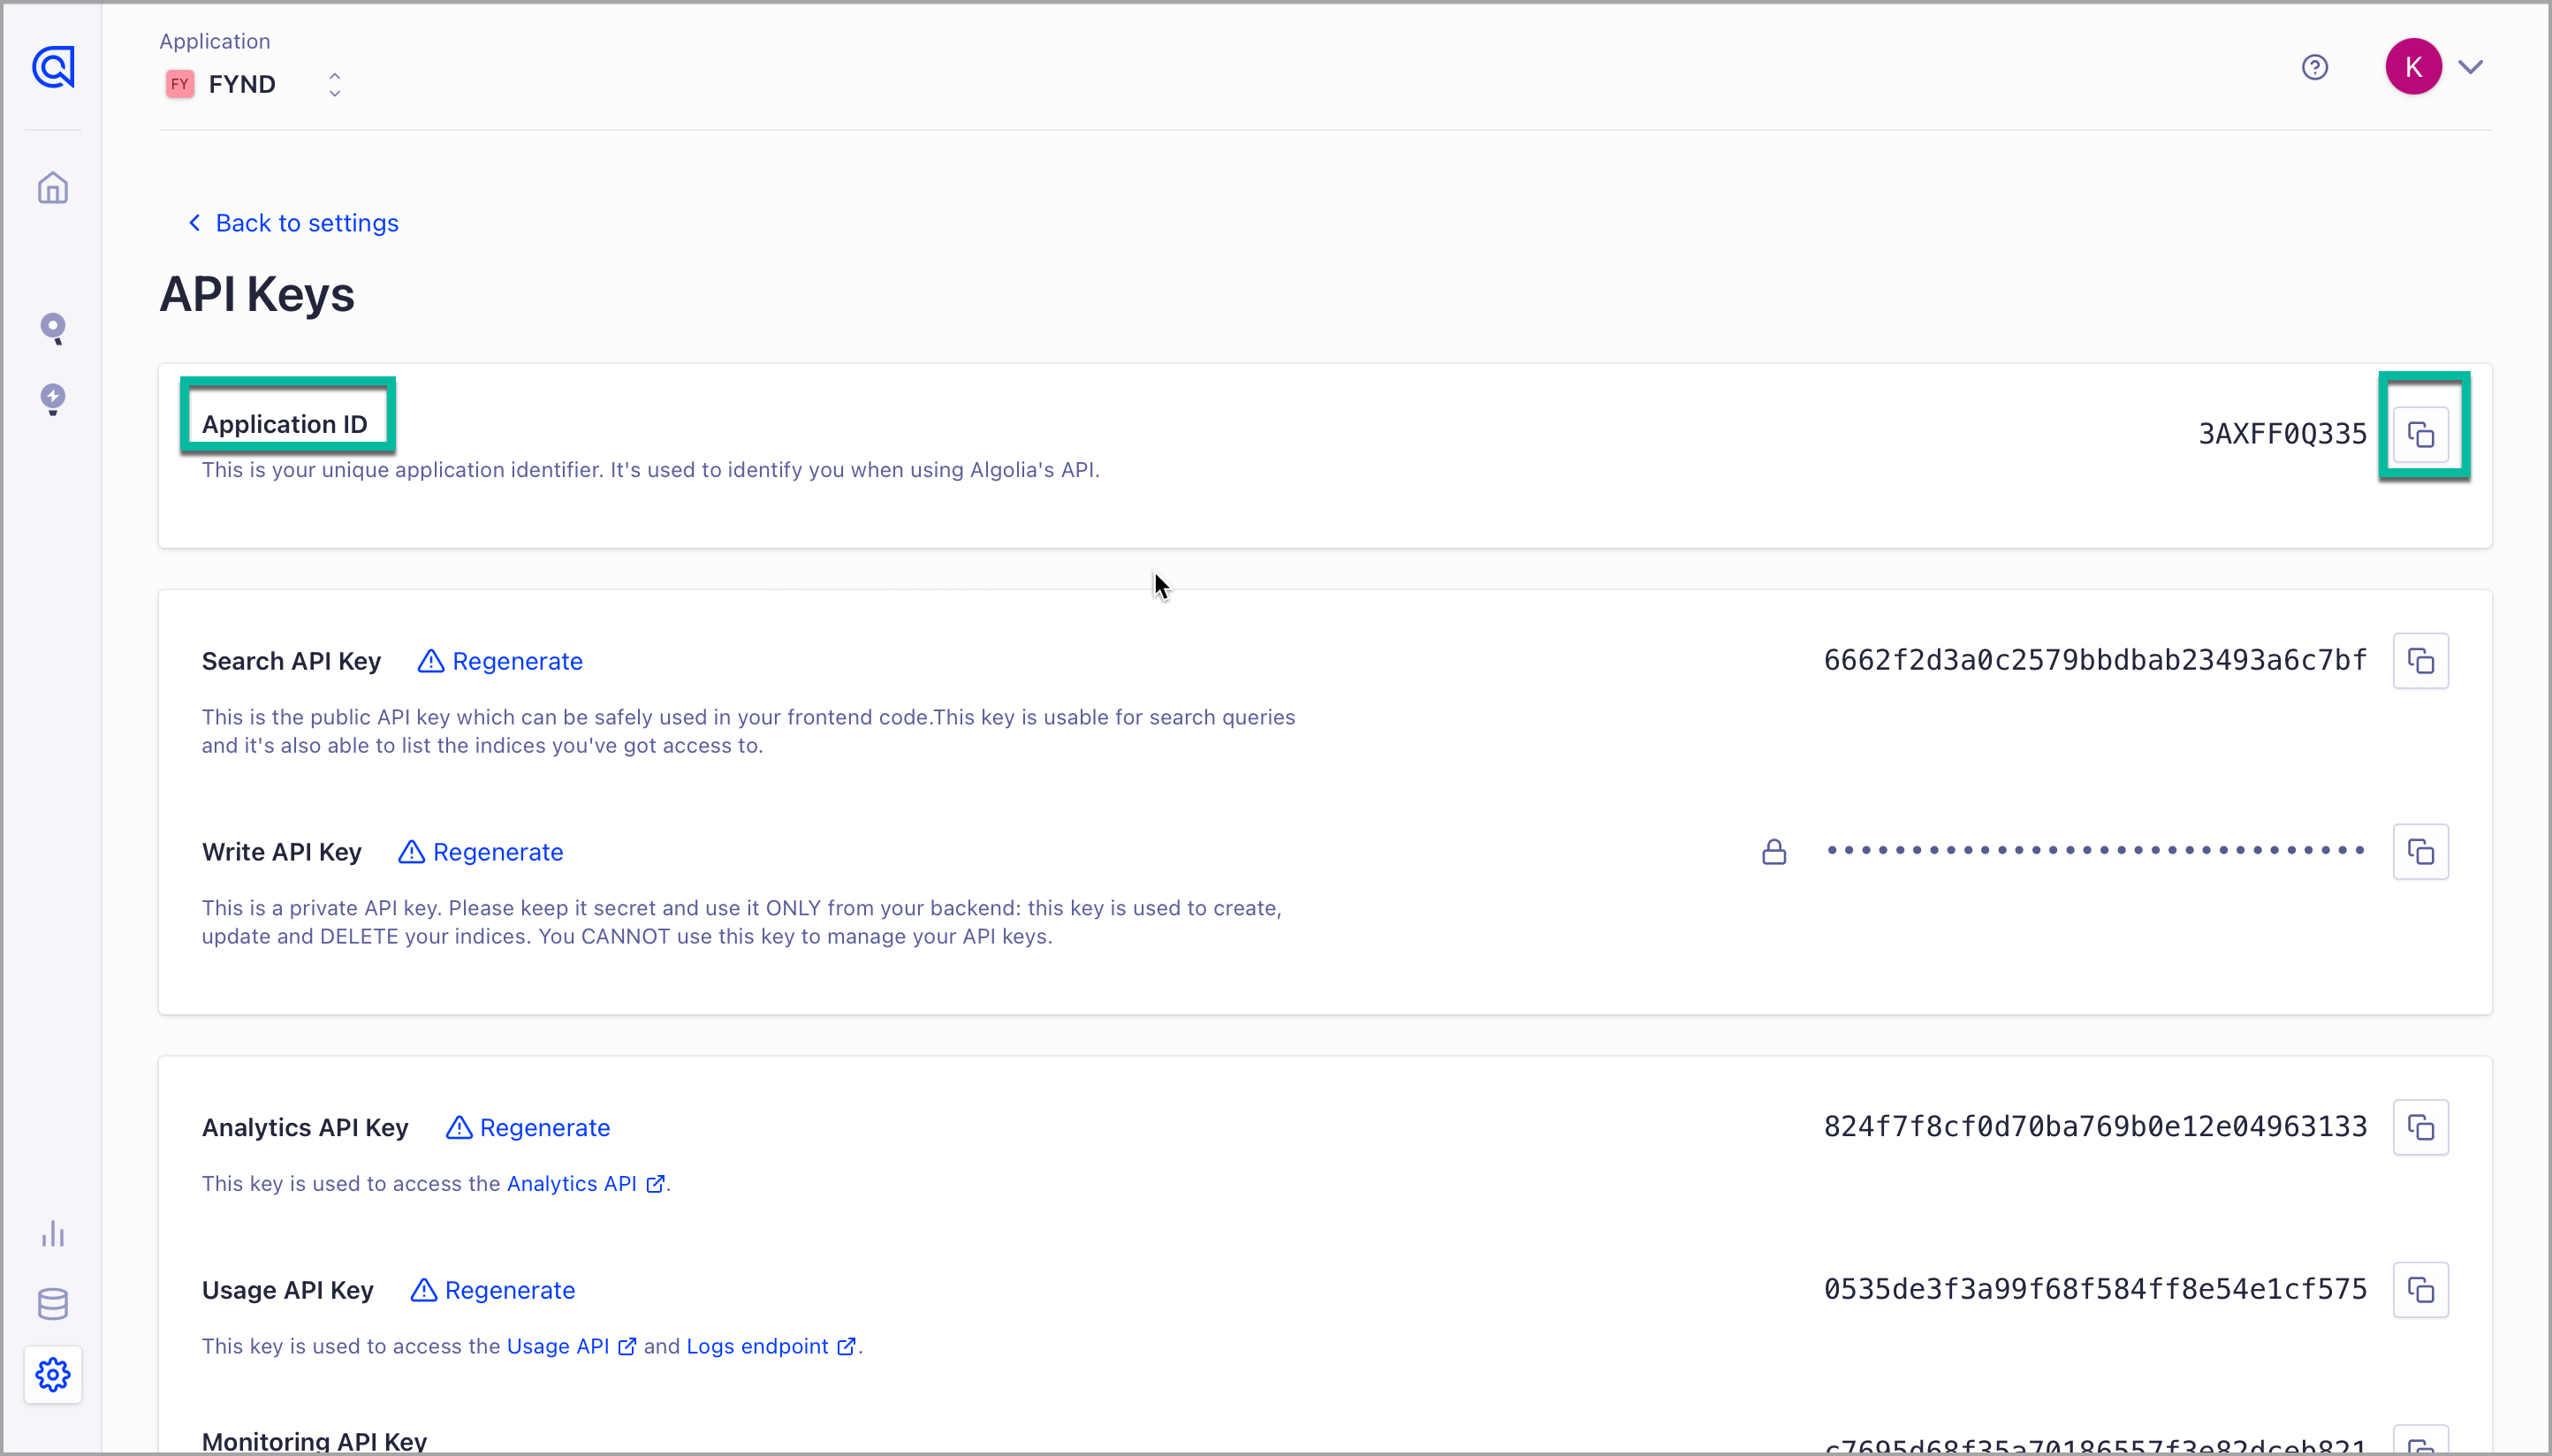
Figure 8: Application ID - Copy the Search API Key and paste it into the Search-Only API Key field on the Fynd Commerce.

Figure 9: Search API Key - Copy the Write API Key and paste it into the Admin API Key (or Write Key) field on the Fynd Commerce.
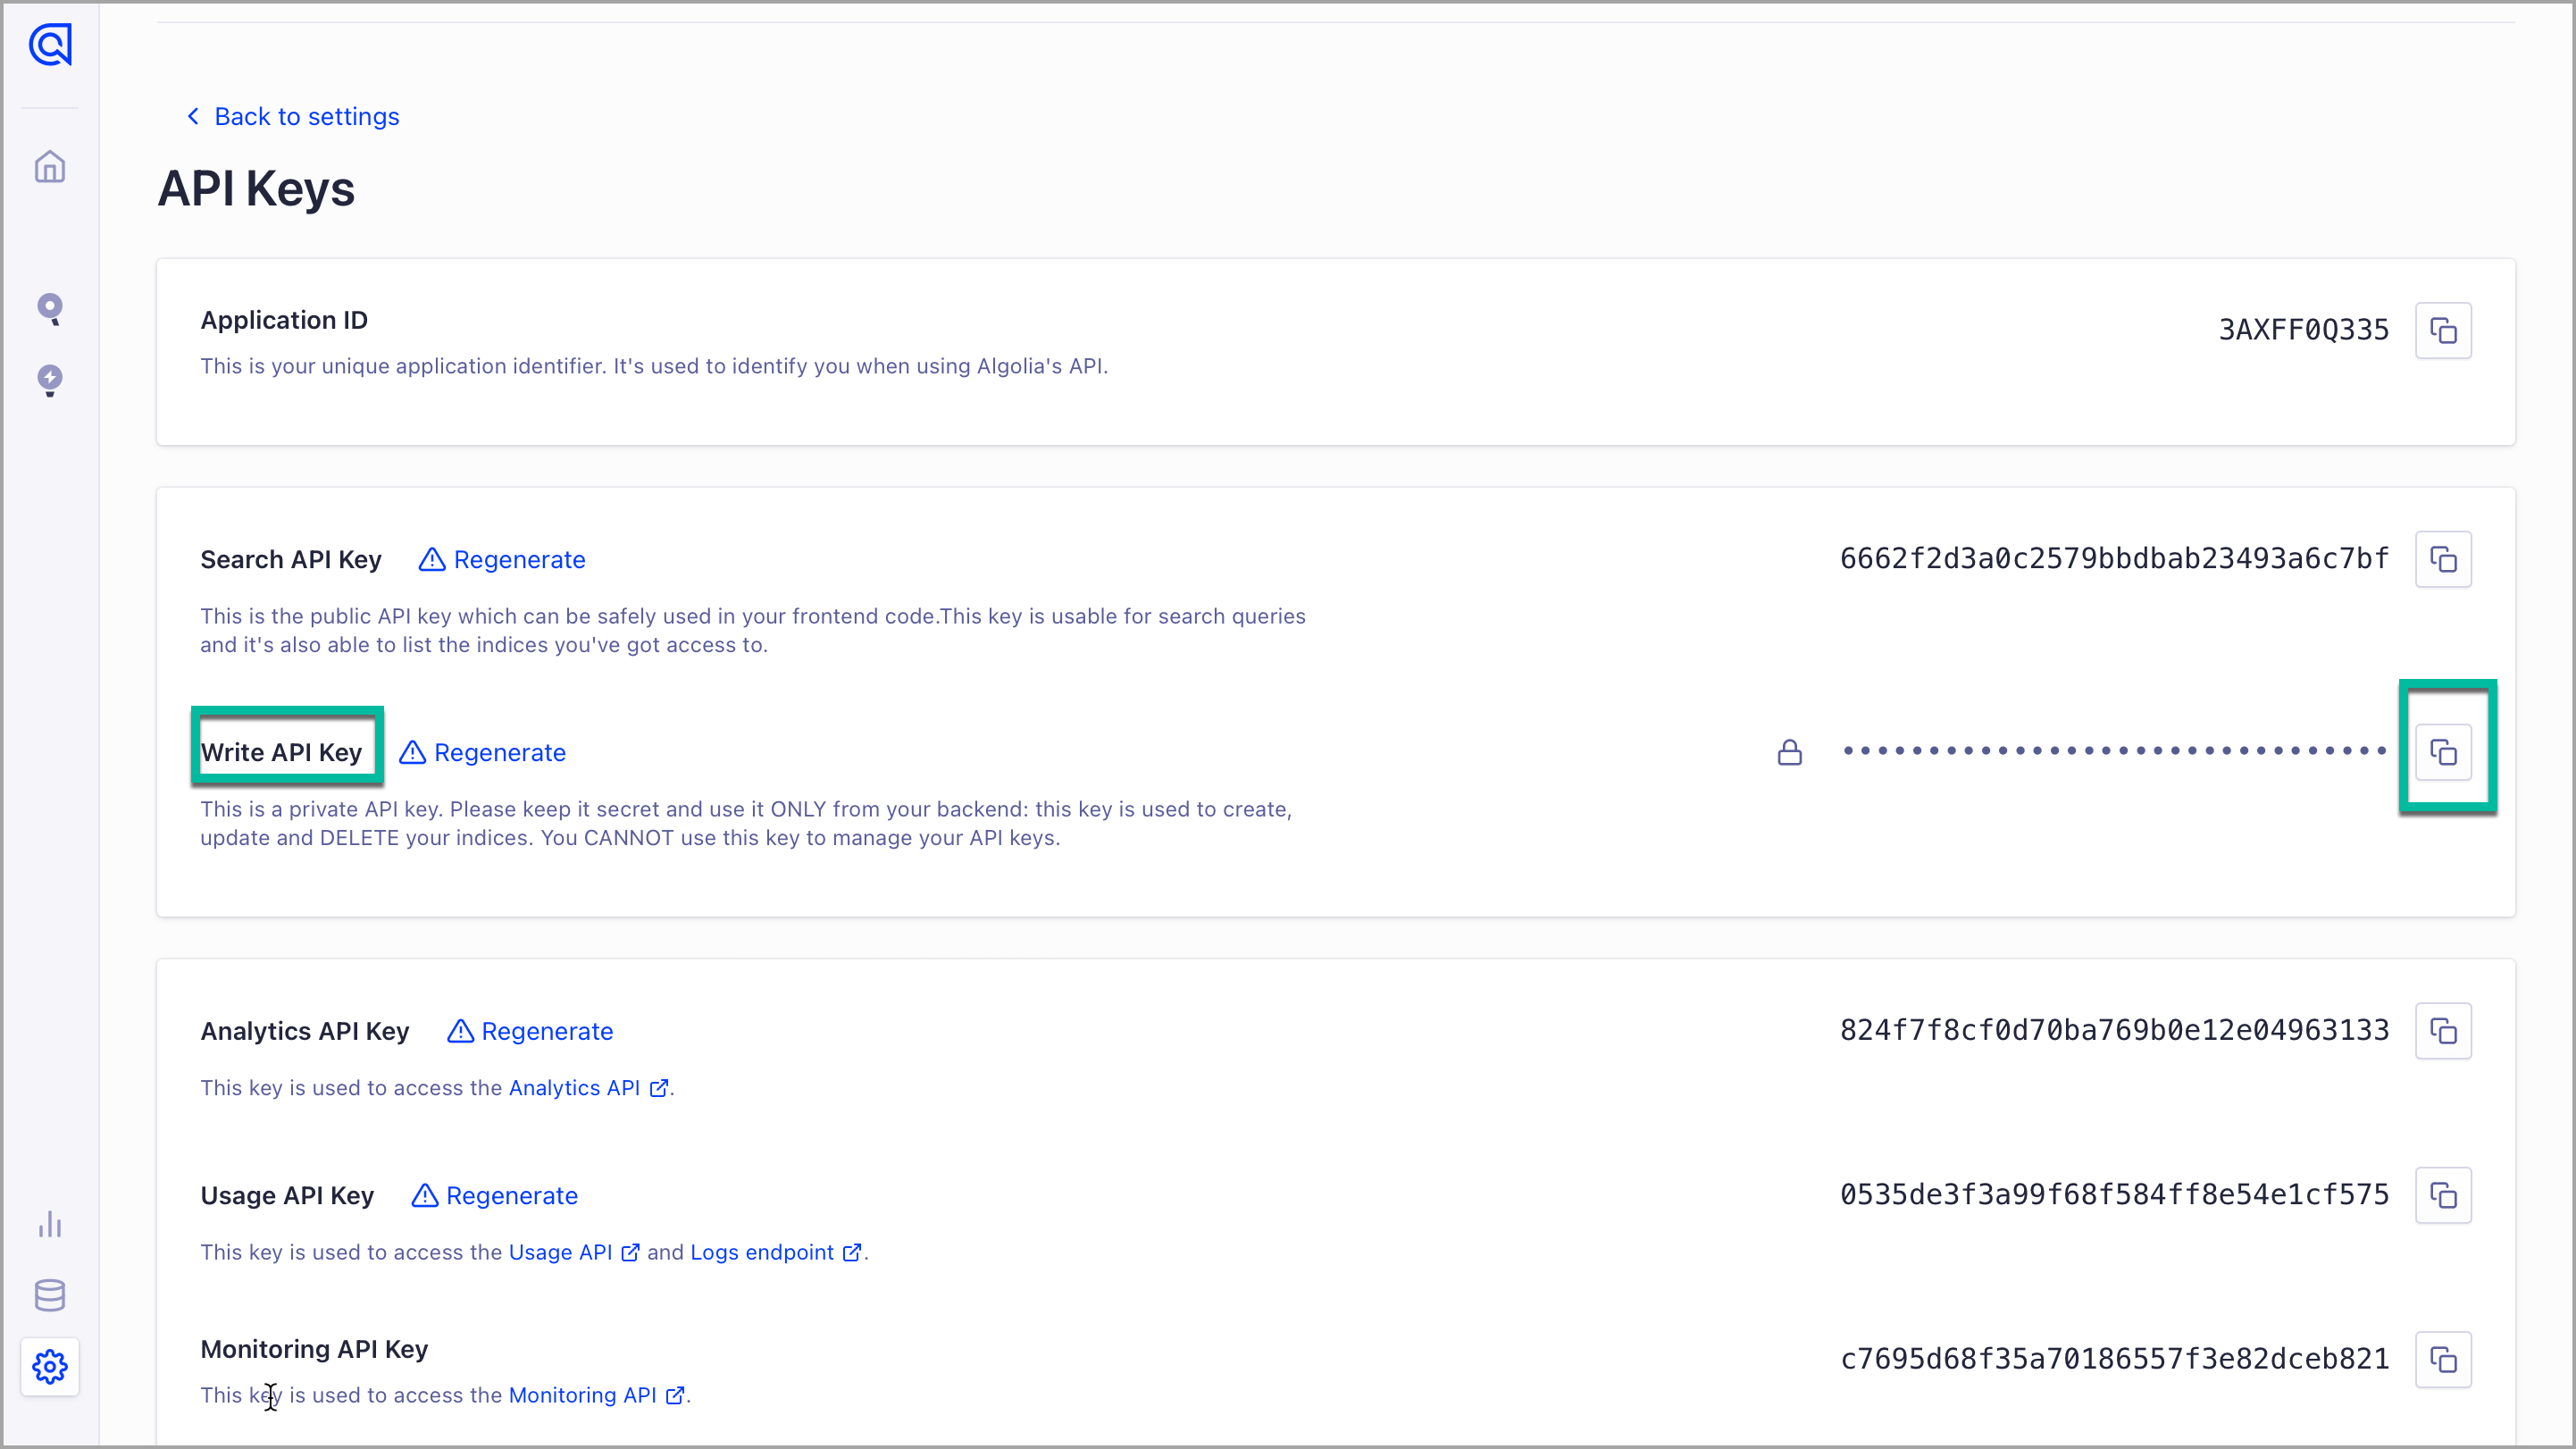
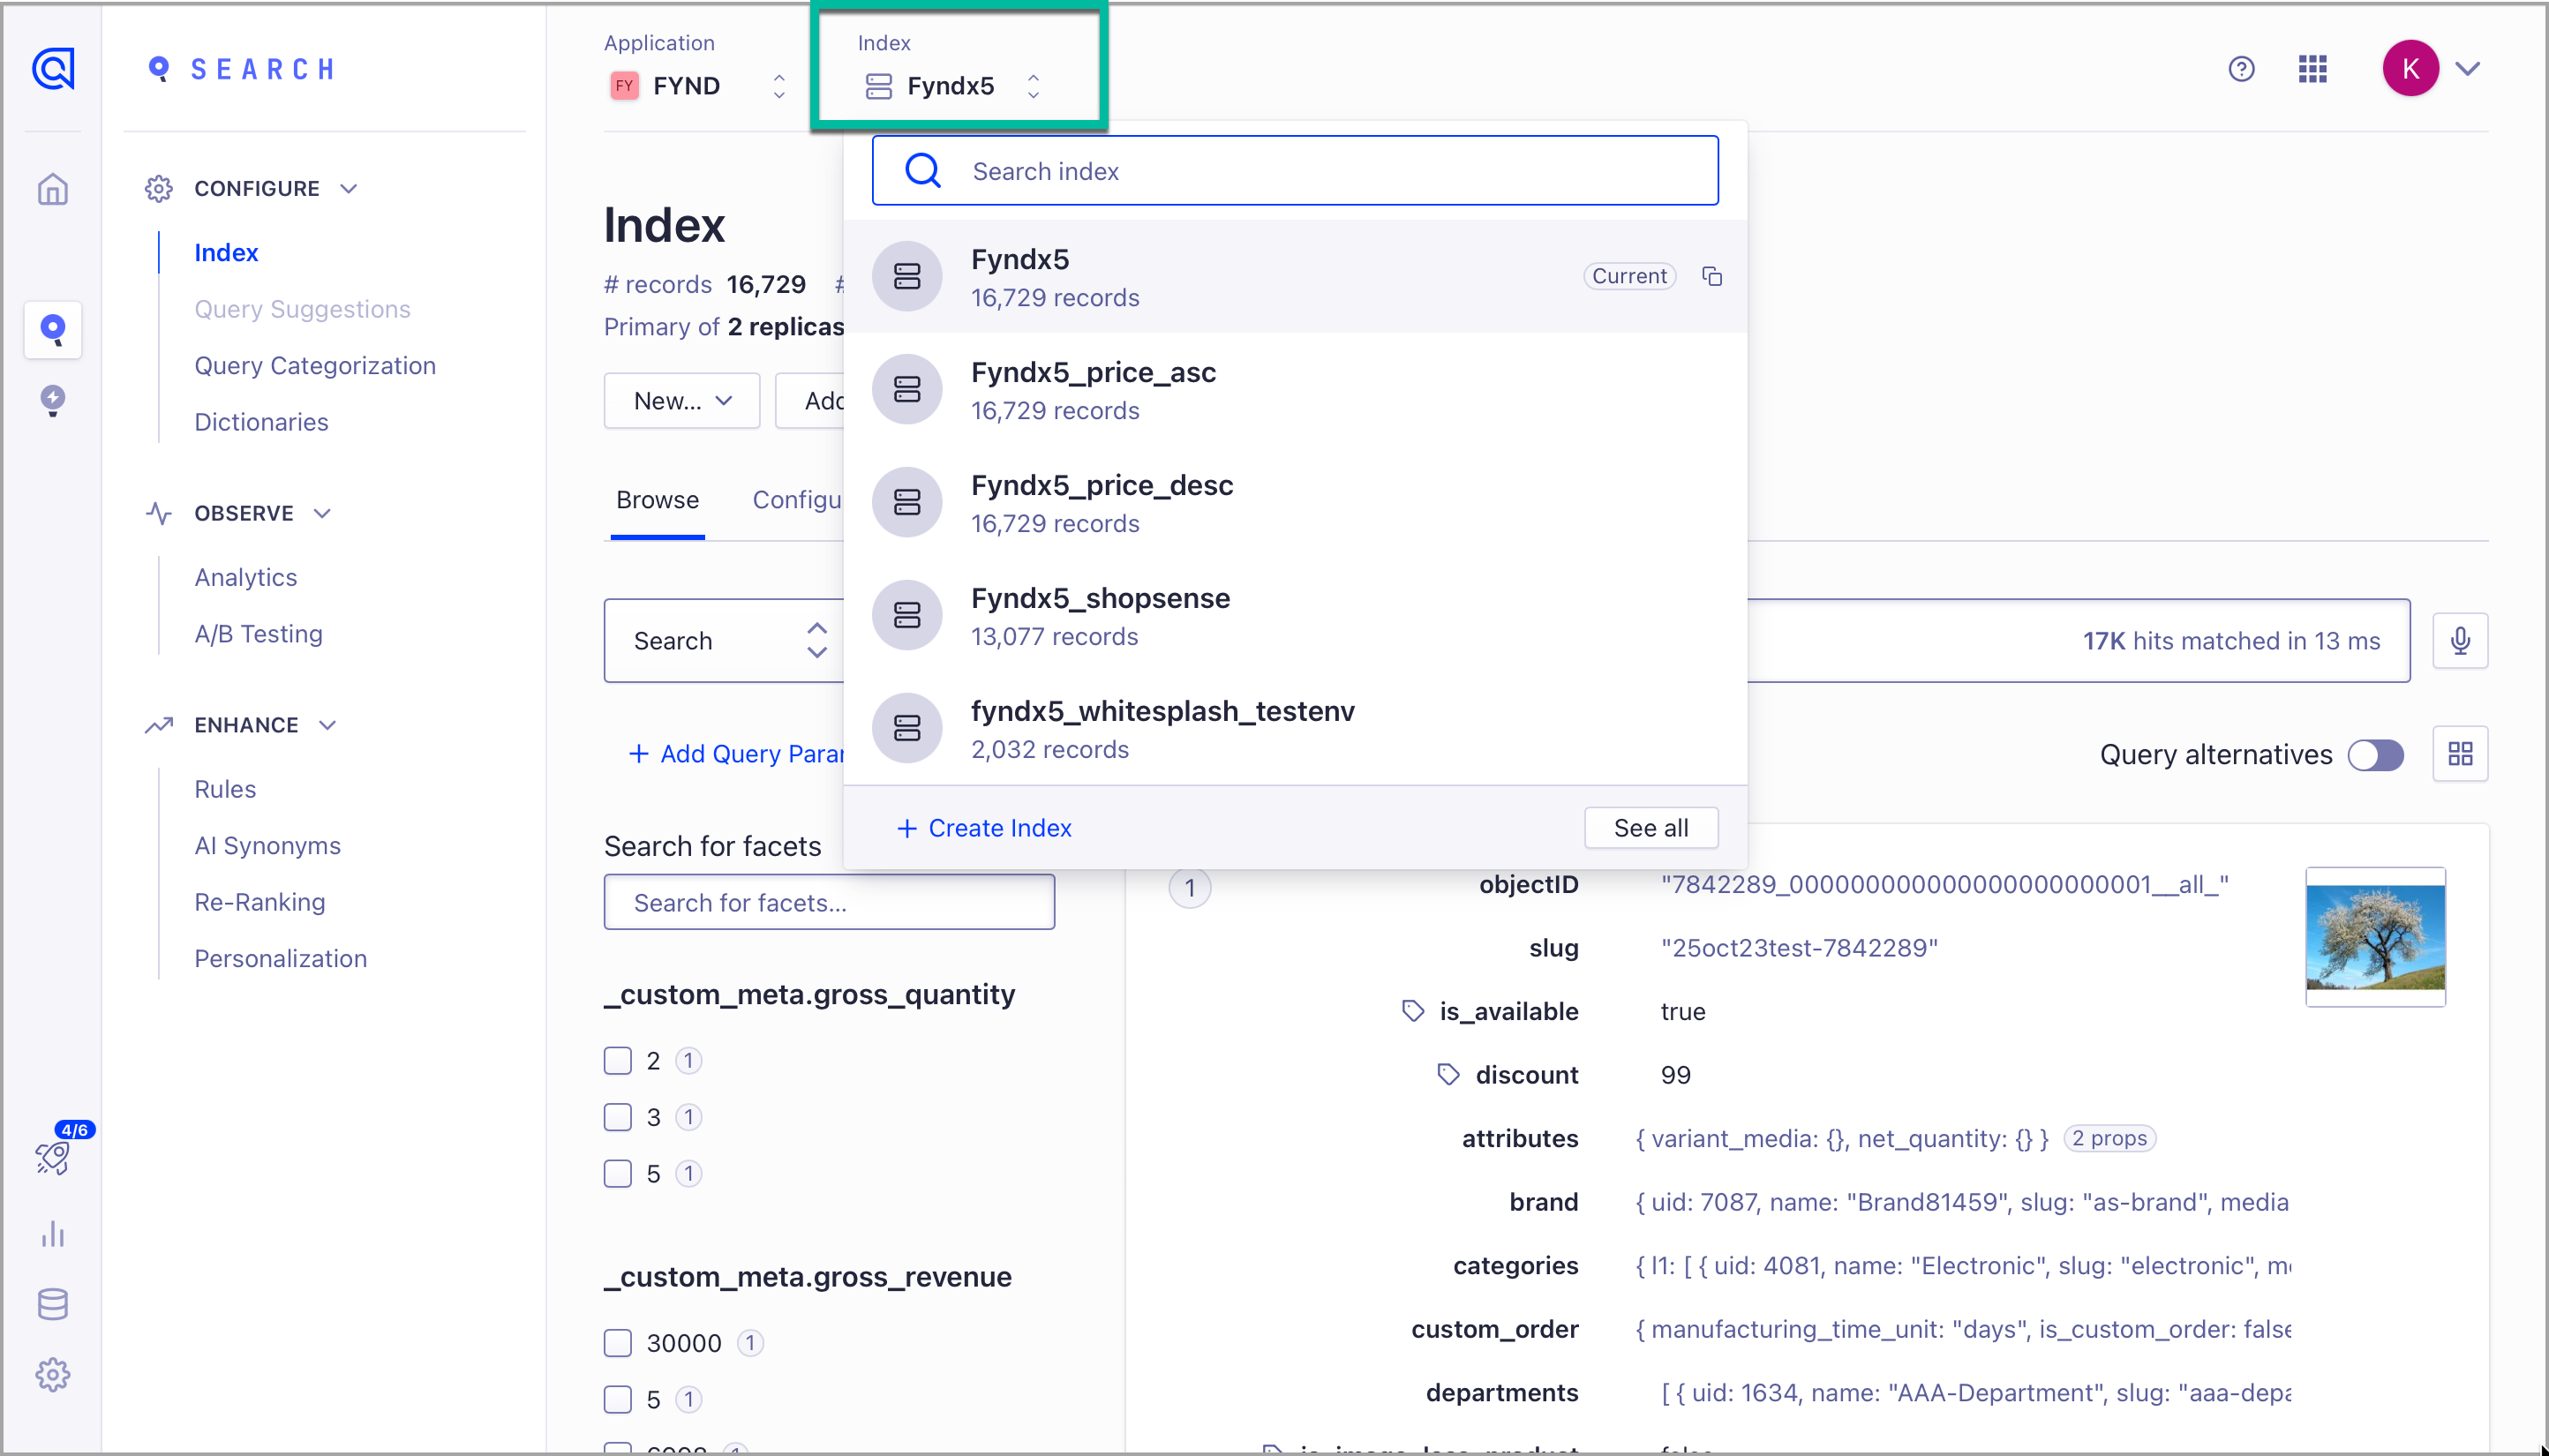
Figure 10: Write API Key Select the Search module from the left side panel and go to Index under Configure.
.png)
- Go to the Index drop-down in the header and select the relevant index from the drop-down menu, and copy the Index Name.
After entering the details in the aforementioned fields, other modules of the Algolia extension will be enabled for you to configure.
After setting credentials for an extension, only the index_name can be modified.
Add Global Context. This refers to universal settings that impact the overall behaviour of search functionalities across the entire application. This field is non-mandatory.
Add Target Mart. It is specific to Jio. Target Mart can be either Jio or Smart. This field is non-mandatory.
Fill in the following fields with the copied details:
| Field | Description | Example |
|---|---|---|
| Application ID | Unique ID to identify your Algolia project. | 3kb42k3v42u42jkjb32k4 |
| Search-Only API Key | Public key used on the frontend for search queries and analytics. | 23brkbjb23jb4j234j12n3b4l |
| Admin API Key | Admin or Write API key. Keep this confidential. | *********** (masked) |
| Index Name | The name of the index to store and retrieve data. | Enter Index Name |
| Global Context | Default search context. | Global Context |
| Target Mart | The mart type to target (choose either JIO or SMART). | SMART |
Click Save to store the credentials.
For more information on price internationalisation, click the info link above the form.
Configure Sort & Replica Mapping
Control how your products are sorted and displayed in search results.
Steps to Configure Sort Options
Select Sort & Replica Mapping from the Algolia dashboard.
Review available sort options such as:
- Price Low to High
- Popularity
- Latest
- Price High to Low
- Rating
- Size Depth
- Manual
Click on a sort option to:
- Update its Display Label (e.g. "Price Low to High")
- Set its Position (e.g. 4)
- Mark it as Default
- Enable or disable the option using the toggle
Click Save.
Clicking “click over here” in the info banner will take you directly to this settings screen.
Enable Search Analytics
Use Search Analytics to track user behaviour and improve search performance.
Go to Search Analytics from the Algolia dashboard.
Enable Click Analytics to start sending
query_idfrom Algolia to the front end, enabling click and conversion tracking.Enable Search Analytics to view:
- Total searches
- No result rate
- Daily search activity
Click Visit Algolia Dashboard to access these insights directly on Algolia.
This link opens the official Algolia dashboard in a new tab.
Upload Rules Using File Uploader
Create and sync bulk rules in Algolia using a structured Excel upload.
Steps to Upload Rules
- Go to File Uploader under Algolia.
- Download the Algolia Rules Demo Excel file.
- Fill in the spreadsheet using the format below:
| Column | Description | Example |
|---|---|---|
| rule_id | Identifier for the rule | my_rule_1 |
| condition_type | Type of condition (query, context, filter) | query |
| query_type | Query operator (e.g. is) | is |
| query_value | Term to match | juice |
| context_name | Context grouping | testing |
| context_scope | Scope of the context (e.g. all) | all |
| filter_name | Filter to apply (e.g. color) | color |
| filter_value | Filter value (e.g. red) | red |
| from_date | Start date of rule validity (MM/DD/YYYY or DD/MM/YYYY format) | 6/9/2023 |
| to_date | End date of rule validity | 6/15/2023 |
Click Upload File and select the completed
.xlsor.xlsxfile.Monitor the upload status under Uploaded Rules:
- Success
- Failed
- In Progress
A file named sample_algolia_rule (4).xlsx with status SUCCESS confirms that rules were synced.
Configure Relevance Settings
Relevance settings allow you to fine-tune the way search results appear to customers. These settings define how queries are interpreted, how results are ordered, and which terms are treated as equivalent.
To configure relevance settings, you will be redirected to the Algolia Dashboard by clicking the Set up in Algolia Dashboard button.
Searchable Attributes
Defines which fields of your data are searchable, and in what order.
| Purpose |
|---|
| You want to control how users find products (e.g., search by brand, category, or product name) |
| You want to prioritise certain fields over others in the search results |
Example Configuration:
[
  "product_name",
  "category",
  "brand",
  "description"
]
Put the most relevant field (e.g. product_name) first. This ensures better matches appear at the top.
Custom Ranking
Controls how matched results are ordered after applying the search logic.
| Use case | Example |
|---|---|
| Show bestsellers first | bestseller |
| Prioritise highest rated items | rating DESC |
| Highlight most-viewed items | views_count DESC |
Example Configuration:
[
  "desc(bestseller)",
  "desc(rating)",
  "desc(views_count)"
]
Custom ranking helps display more business-relevant results, such as top-sellers, first.
Synonyms
Synonyms expand or unify search intent by telling Algolia which words are considered equivalent.
| Use case | Example |
|---|---|
| Search for "pants" should also return results for "trousers" | pants ⇄ trousers |
| "jacket" includes "blazer" | jacket ⇄ blazer |
All of these settings are configured directly within the Algolia Dashboard after redirection.
Manage PromoRules Context
This section allows you to assign context to rules, so they can be triggered conditionally based on customer behaviour, device type, or other metadata.
Steps to Use PromoRules Context
Navigate to PromoRules Context in the Algolia module.
View previously synced rules, including their:
- Rule ID
- Context (e.g.
testing) - Type (e.g.
all)
Use the search bar to find specific rule contexts.
Click the bin icon to delete a context.
Rule ID my_rule_1 with context testing and type all ensures this rule only applies during testing campaigns across all scopes.
- Promote a rule only during a sale period.
- Apply different rules for desktop vs mobile experiences.
Enable and Track User Events
User Events: help track and measure key customer actions on your storefront. These events can be used to optimise search relevance and enable personalisation.
Steps to Use User Events
- Go to User Events in the Algolia section.
- Toggle the switch at the top right to enable.
- You'll now see a list of predefined events:
| Event Name | Description | Mapped Algolia Event |
|---|---|---|
| Add to cart | Captures when a user adds a product to the cart | addedToCartObjectIDs |
| Product view | Captures when a user clicks on a product | clickedObjectIDs |
| Order complete | Captures when a user places an order | purchasedObjectIDs |
- Toggle each event to enable it based on your tracking requirements.
- Click Save.
These events improve search performance by feeding real-time behavioural data into Algolia, enabling better analytics and personalised ranking.
Google Retail Search
Google Retail Search enables enhanced product discovery by leveraging Google’s search intelligence. With this integration, merchants can optimise cataloguing, indexing, and personalisation—improving customer experience and search conversion rates.
Set Up Google Retail Search Credentials
To connect your Google Retail Search account with Fynd, you must provide key credentials.
- Navigate to Google Retail Search > Credentials.
- Enter the following information:
| Field | Description | Example |
|---|---|---|
| Project ID | Google Cloud project ID used for Retail Search | retail-store-123 |
| Dataset ID (Optional) | Identifier for a specific dataset (optional) | product_dataset_v1 |
| Service Account Key | JSON key for service account with access to Retail Search | {...}.json |
| GCS Error Path | Path to your Google Cloud Storage bucket for error logging | gs://fynd-retail-errors/ |
These settings allow Fynd to sync your product data and fetch search-related insights from Google’s platform.
- Click Save to complete the integration setup.
Clicking the info link will guide you to more details about price internationalisation and its impact on Google Retail configurations.
Track User Events for Google Retail
User Events: help you capture behavioural data such as searches, views, cart actions, and purchases. These insights are sent to Google Retail to improve search relevance and product recommendations.
- Go to User Events under Google Retail Search.
- Toggle the switch in the top-right corner to enable.
- A list of available events will appear:
| Event Name | Description | Mapped Event |
|---|---|---|
| Add to cart | When a user adds a product to the cart | add-to-cart |
| Remove from cart | When a user removes an item from the cart | remove-from-cart |
| Product view | When a user views a product detail page | detail-page-view |
| Product listing | When a user views the homepage or a PLP | home-page-view |
| Order complete | When a purchase is made | purchase-complete |
| Product search | When a user searches for a product | search |
| Order checkout | When a user visits the shopping cart | shopping-cart-page-view |
- Use the toggle next to each event to enable tracking.
- Click Save once configuration is complete.
Enabling these events allows Google to understand how users engage with your site, enhancing the personalisation and ranking of search results.
Common Settings
The Common section allows you to configure and manage universal settings for search services across your store. These include pricing, catalogue sync, attributes, autocomplete, and more. This centralises configuration across both Algolia and Google Retail search engines.
Config – Price Internationalisation
Manage API-based currency conversion for product listings.
How to configure:
Navigate to Config.
Select the Currency Exchange Partner from the dropdown.
- Example:
Open Exchange
- Example:
Enter your Open Exchange API Key.
- Example:
fynd-openex-12345678
- Example:
Click Save to apply the settings.
Display accurate prices for international customers by converting your base price using real-time exchange rates.
Catalogue Sync
Synchronise products, collections, and currency data between Fynd Commerce and external search providers (Algolia or Google Retail).
Steps to Sync:
Go to Catalogue Sync.
Click Sync.
Choose options from the modal:
- Sync Type: Select
IncrementalorFull. - Select Provider: Choose from
Algolia,Google Retail, orBoth.
- Sync Type: Select
Click Sync.
Sync History:
You’ll see a job list with the following details:
- Job Type: Products, Collections, Currency
- Status: SUCCESS / IN_PROGRESS
- Items Synced: Auto-filled after completion
Ensures your search providers have up-to-date product and collection data from the Fynd backend.
Auto Complete Menu
Customise autocomplete suggestions shown in the search bar.
Available toggles:
- Product Suggestion
- Brand Suggestion
- Category Suggestion
- Query Suggestion
- Departments Suggestion
- Fallback to Algolia (used if Vertex data is empty)
Example: Enable Query Suggestion and provide a Query Suggestion Index name like fynd_query_suggestions.
Improves search UX by suggesting products, categories, or brands as users type.
Custom Attributes
Create and manage custom attribute mappings for your product data.
Steps to configure:
Go to Custom Attributes.
Toggle Enable Custom Attributes.
Click Add New.
Fill in:
- Source: e.g.,
product_colour - Destination: e.g.,
custom_colour
- Source: e.g.,
Optionally, toggle:
- Remain Original: Retains the original source field in the output.
Re-map fields for clarity or compatibility before syncing to search services.
Attributes
Select which attributes from your product data should be passed to Algolia.
Example:
uidmulti_sizeslugis_availablealgolia_facet
- Toggle Enable Attributes.
- Enter or delete fields as needed.
- Click Save.
Reduce payload size or enhance indexing performance by syncing only required fields.
Data Loader
Switch search-related data services from Fynd default to external providers.
Options available for:
- Product Listing
- Collection Listing
- Autocomplete Menu
Each row includes two dropdowns:
- Mode:
FyndorExt Search Provider
- Search Provider:
Algolia,Google Retail,Hybrid
Enables flexible routing of search APIs to different engines depending on A/B testing or performance.
A/B Testing Config
Split traffic between search providers for testing purposes.
Configuration:
- Algolia Percentage: Set share of traffic (e.g.,
50) - Vertex Percentage: Remaining traffic (e.g.,
50) - Rotation Time: Time (in hours) after which user session switches provider
This applies only when Hybrid mode is selected in the Data Loader section.
Stats Panel:
Use the calendar to filter A/B test metrics by time range.
Search Tool Pinning
The Search Tool Pinning feature allows you to assign a specific search engine to a particular user. This is helpful for internal QA, performance analysis, debugging, and A/B testing use cases.
Steps to Pin a Search Engine to a User ID:
- Navigate to Search Tool Pinning.
- Fill in the required fields:
| Field | Description | Example |
|---|---|---|
| User ID | The unique identifier of the user to pin | user_123456 |
| Search Engine | Select the engine to assign from the dropdown | Algolia, Google Retail, Hybrid |
- Click Save to finalise the configuration.
If you're running multiple search engines and need to fix one engine (e.g. Algolia) for a tester or a group of users, this ensures consistent and predictable behaviour for them—bypassing A/B testing or dynamic rotation logic.
This pinning overrides the A/B testing and hybrid settings for the specified user ID.